TL;DR #
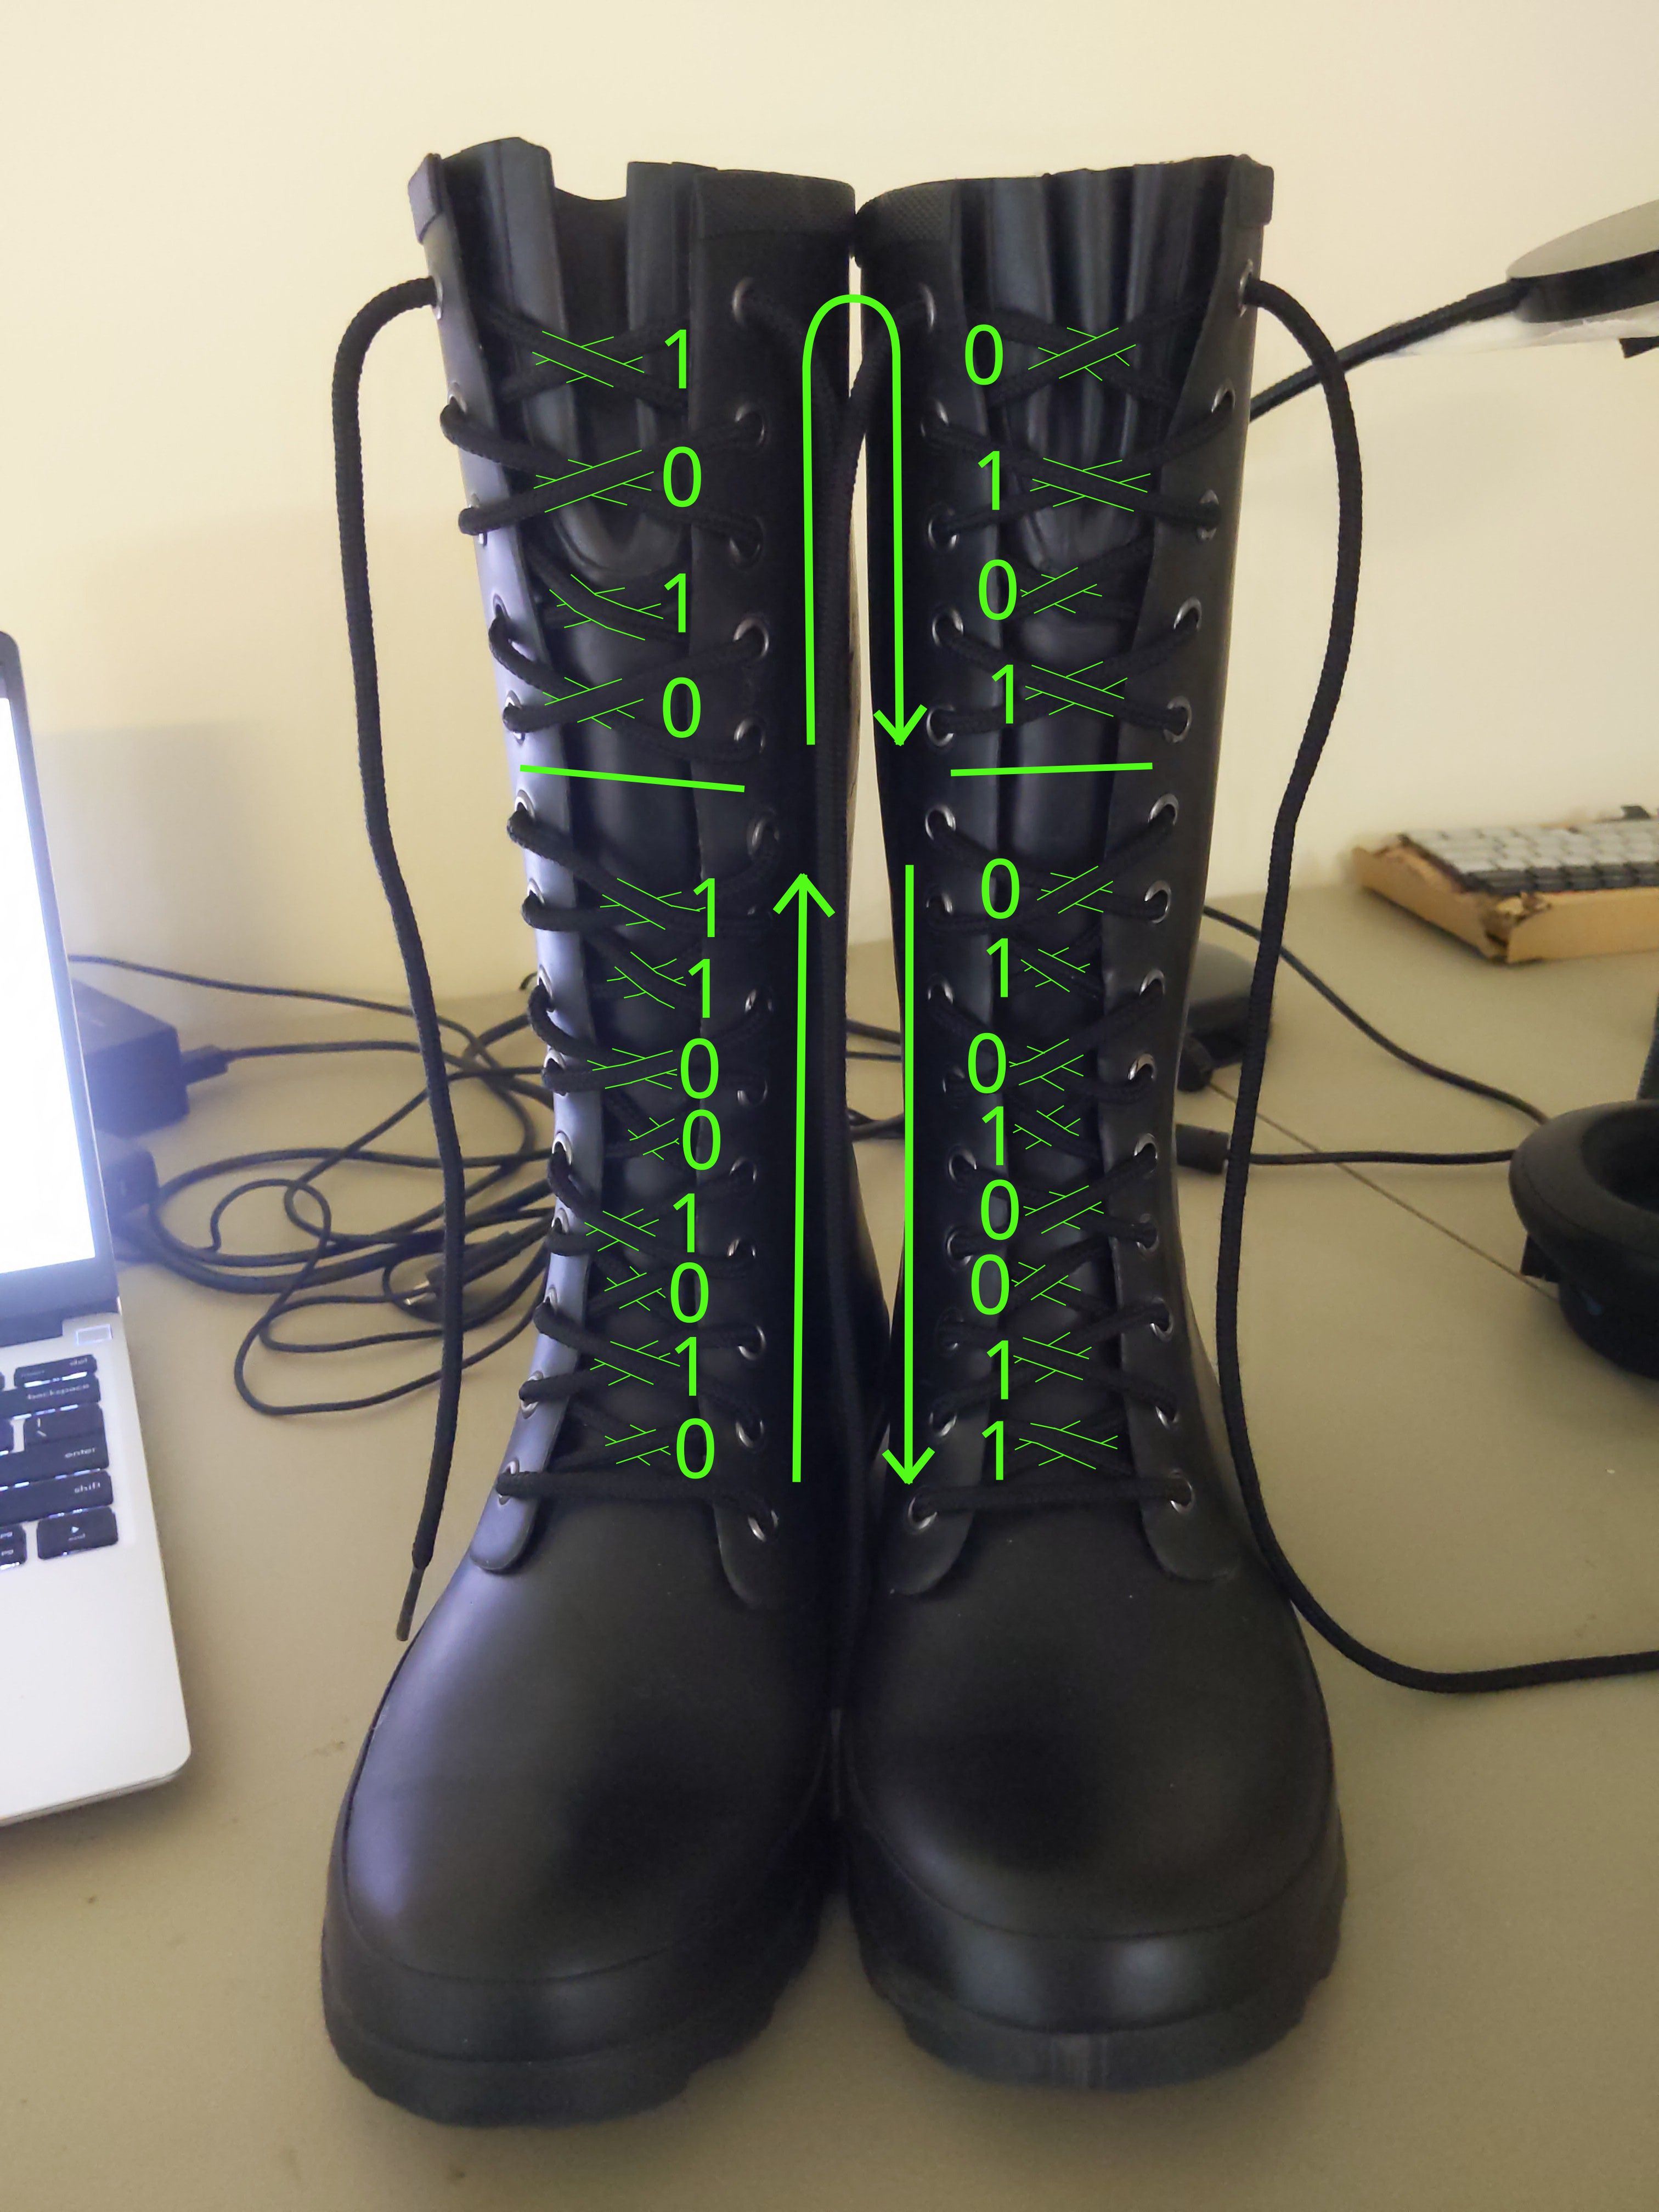
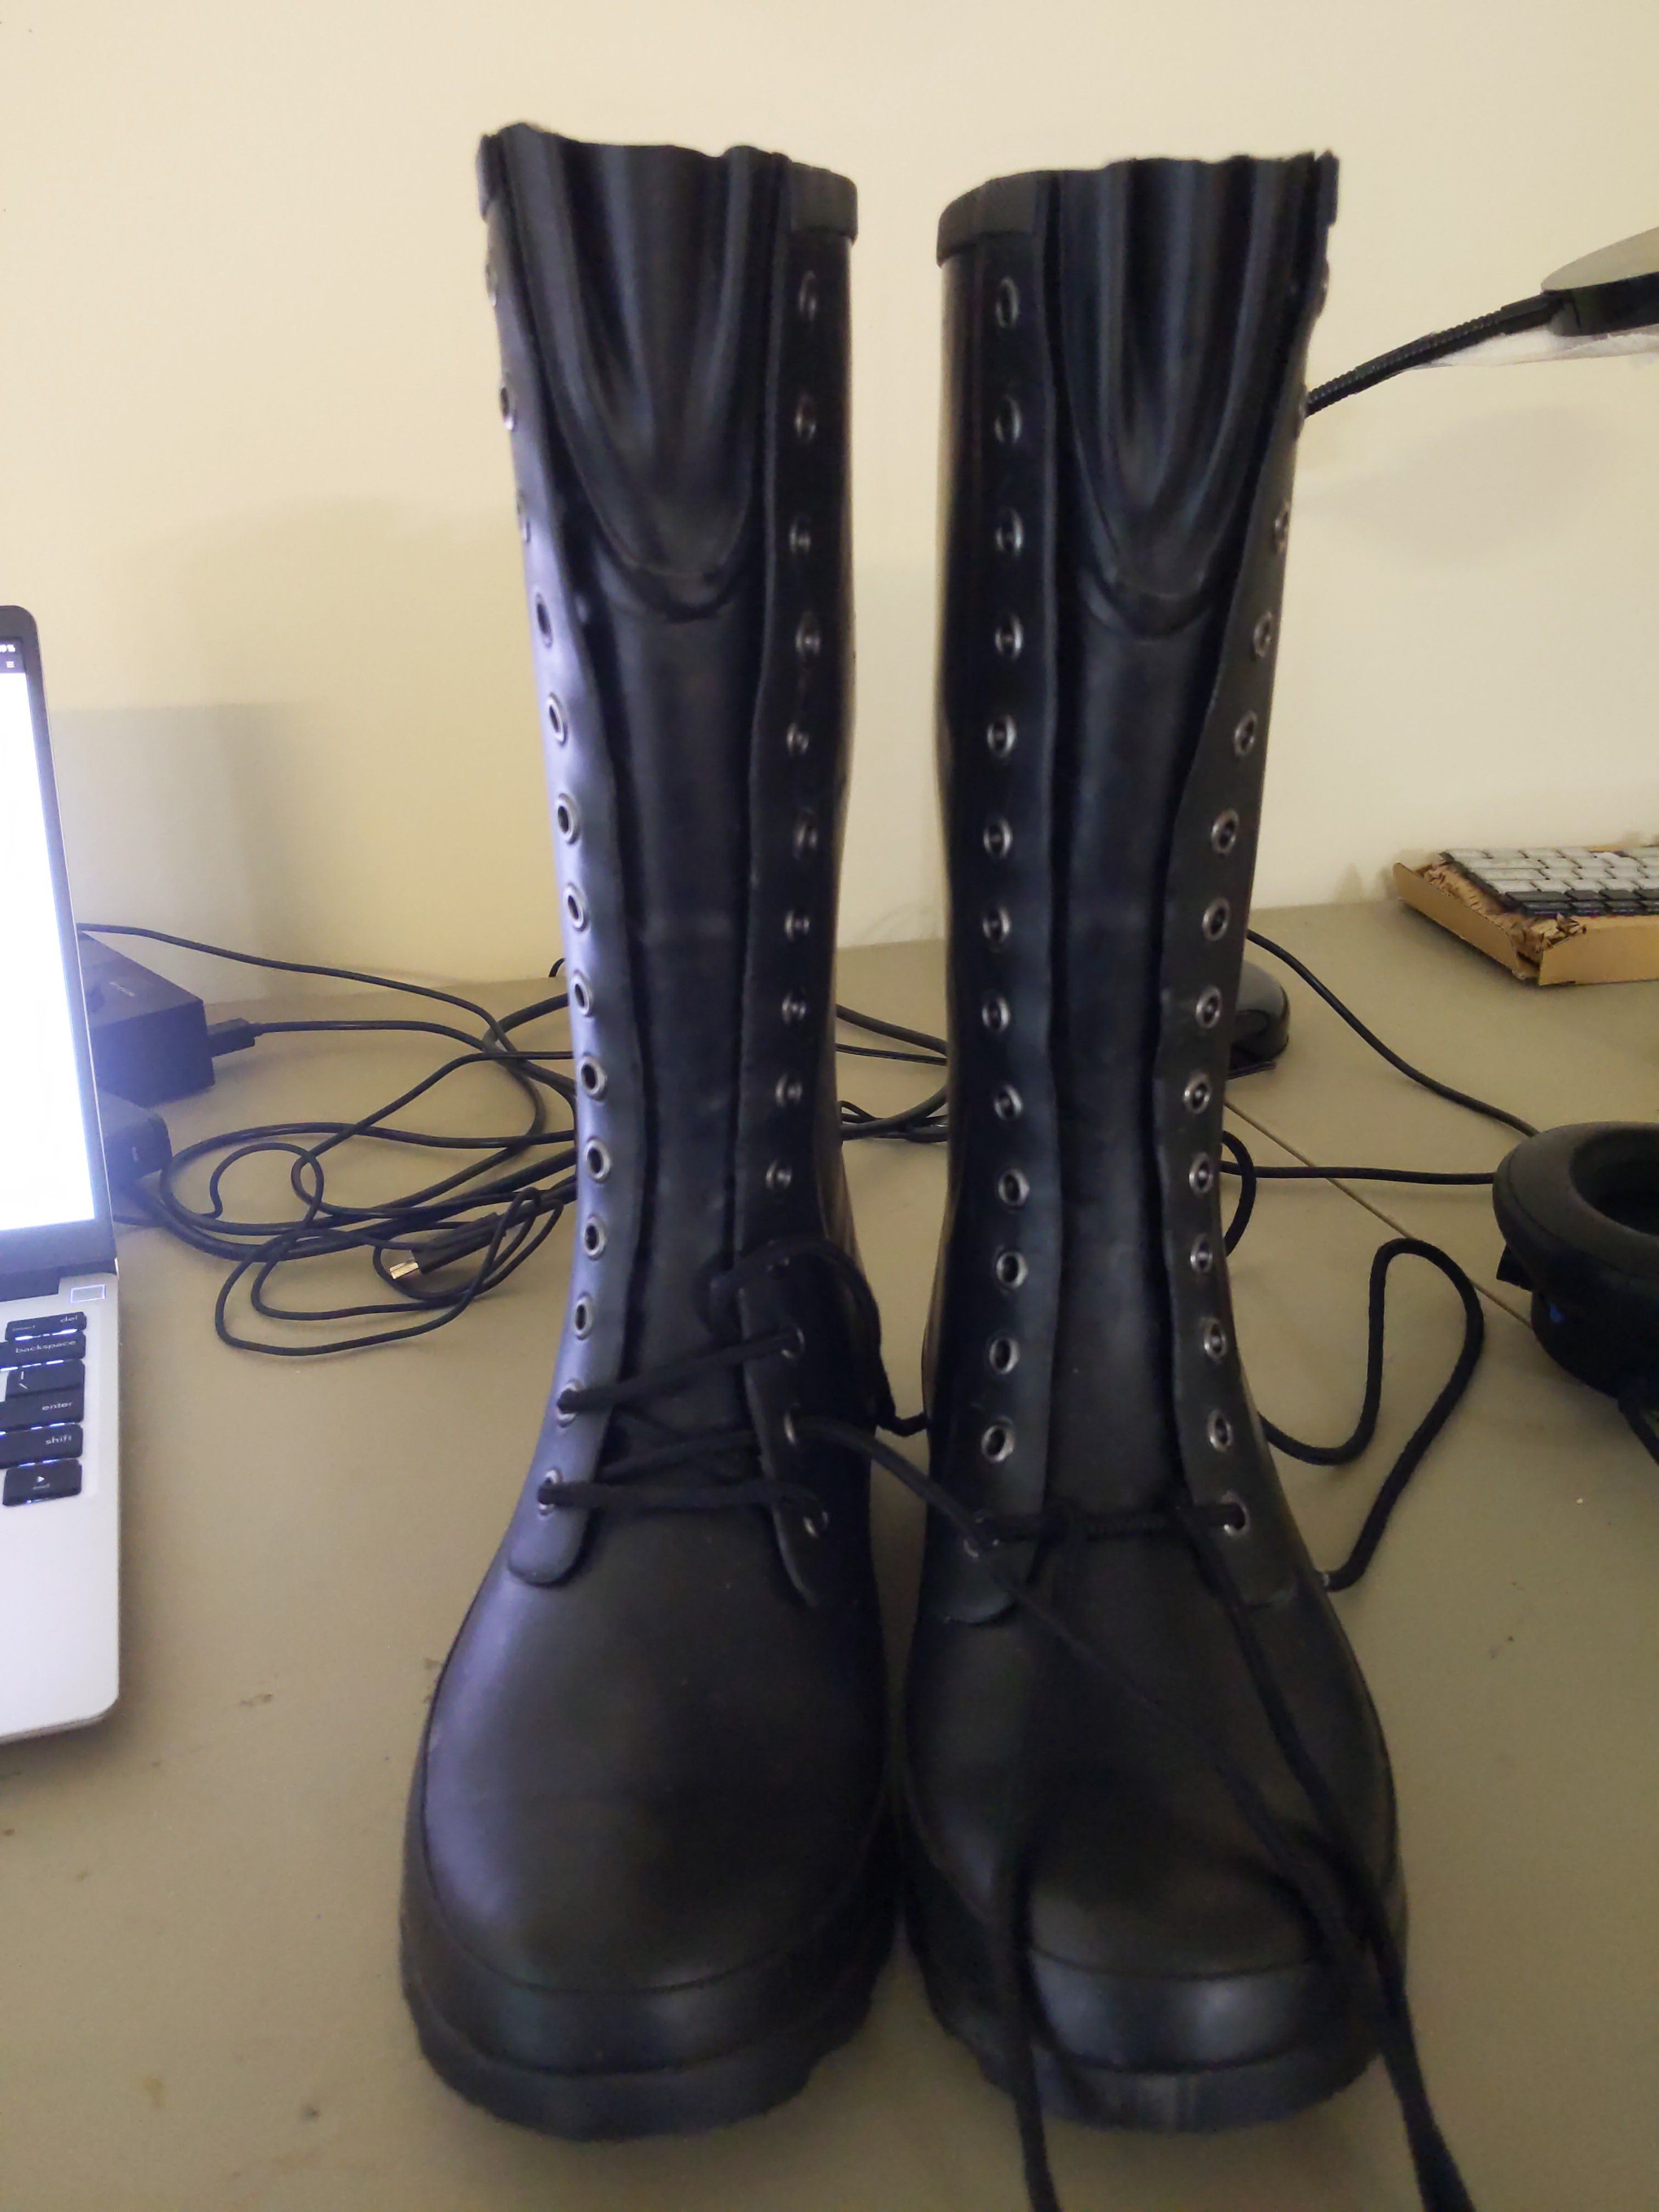
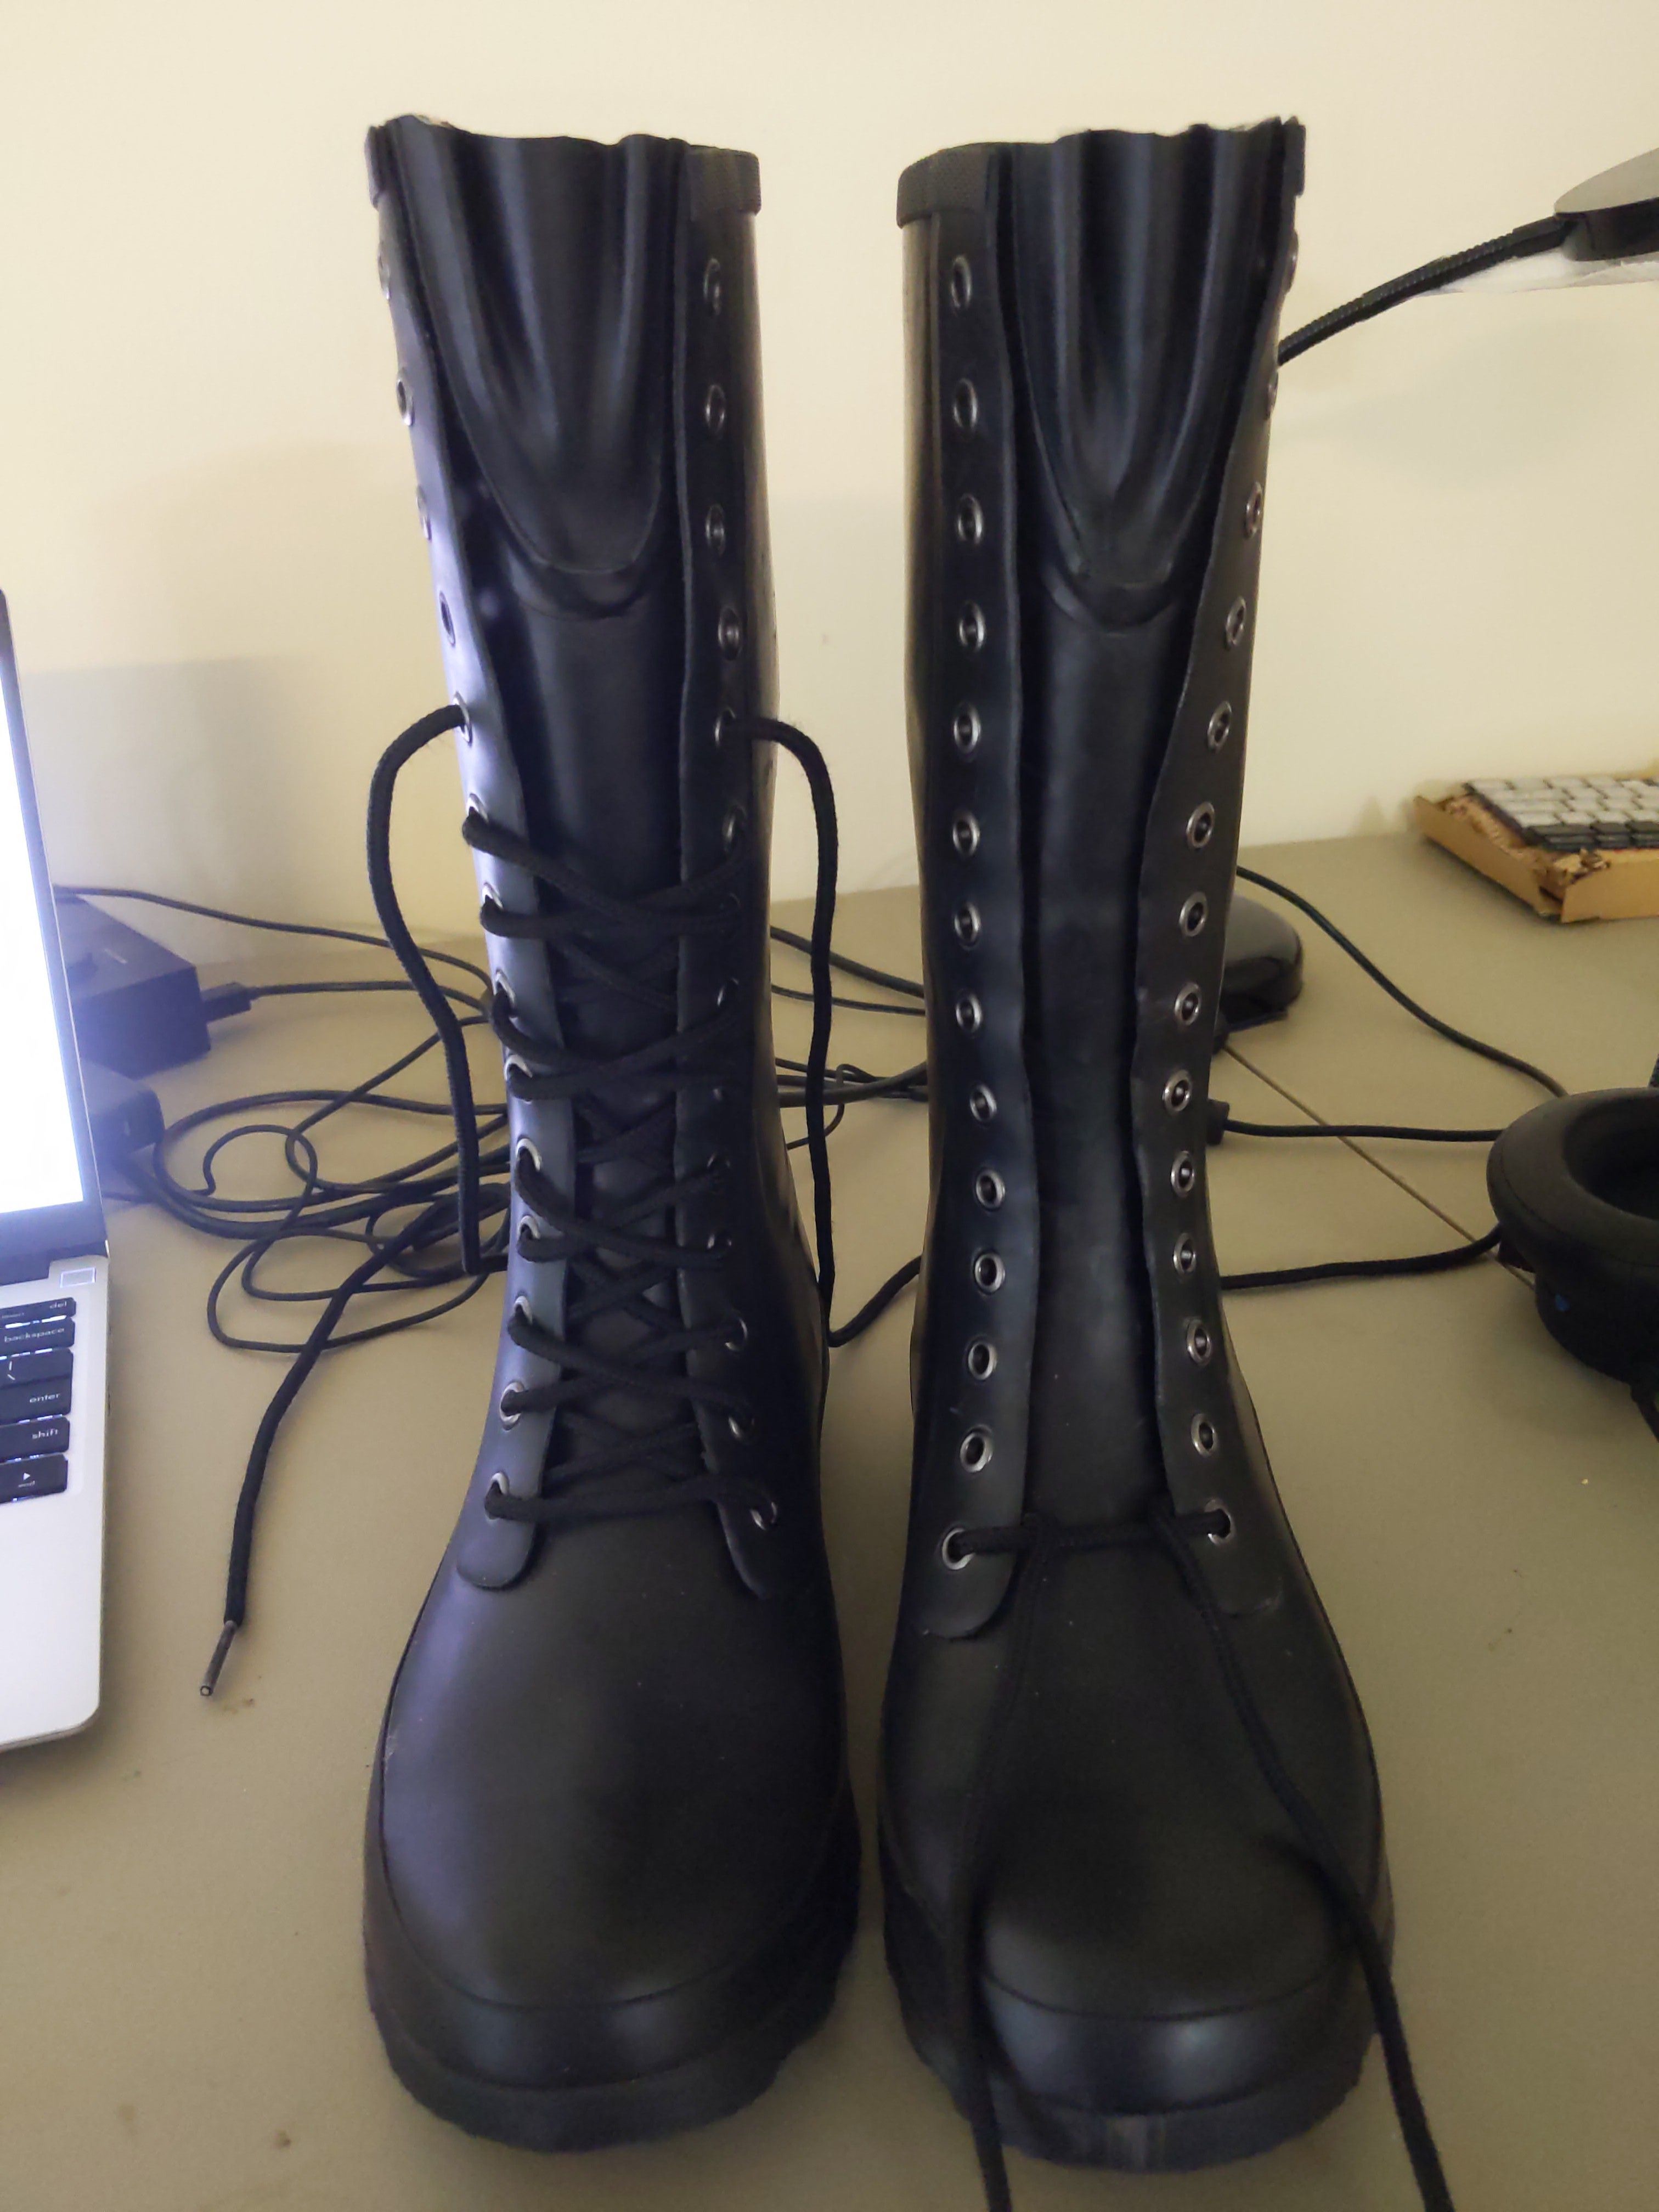
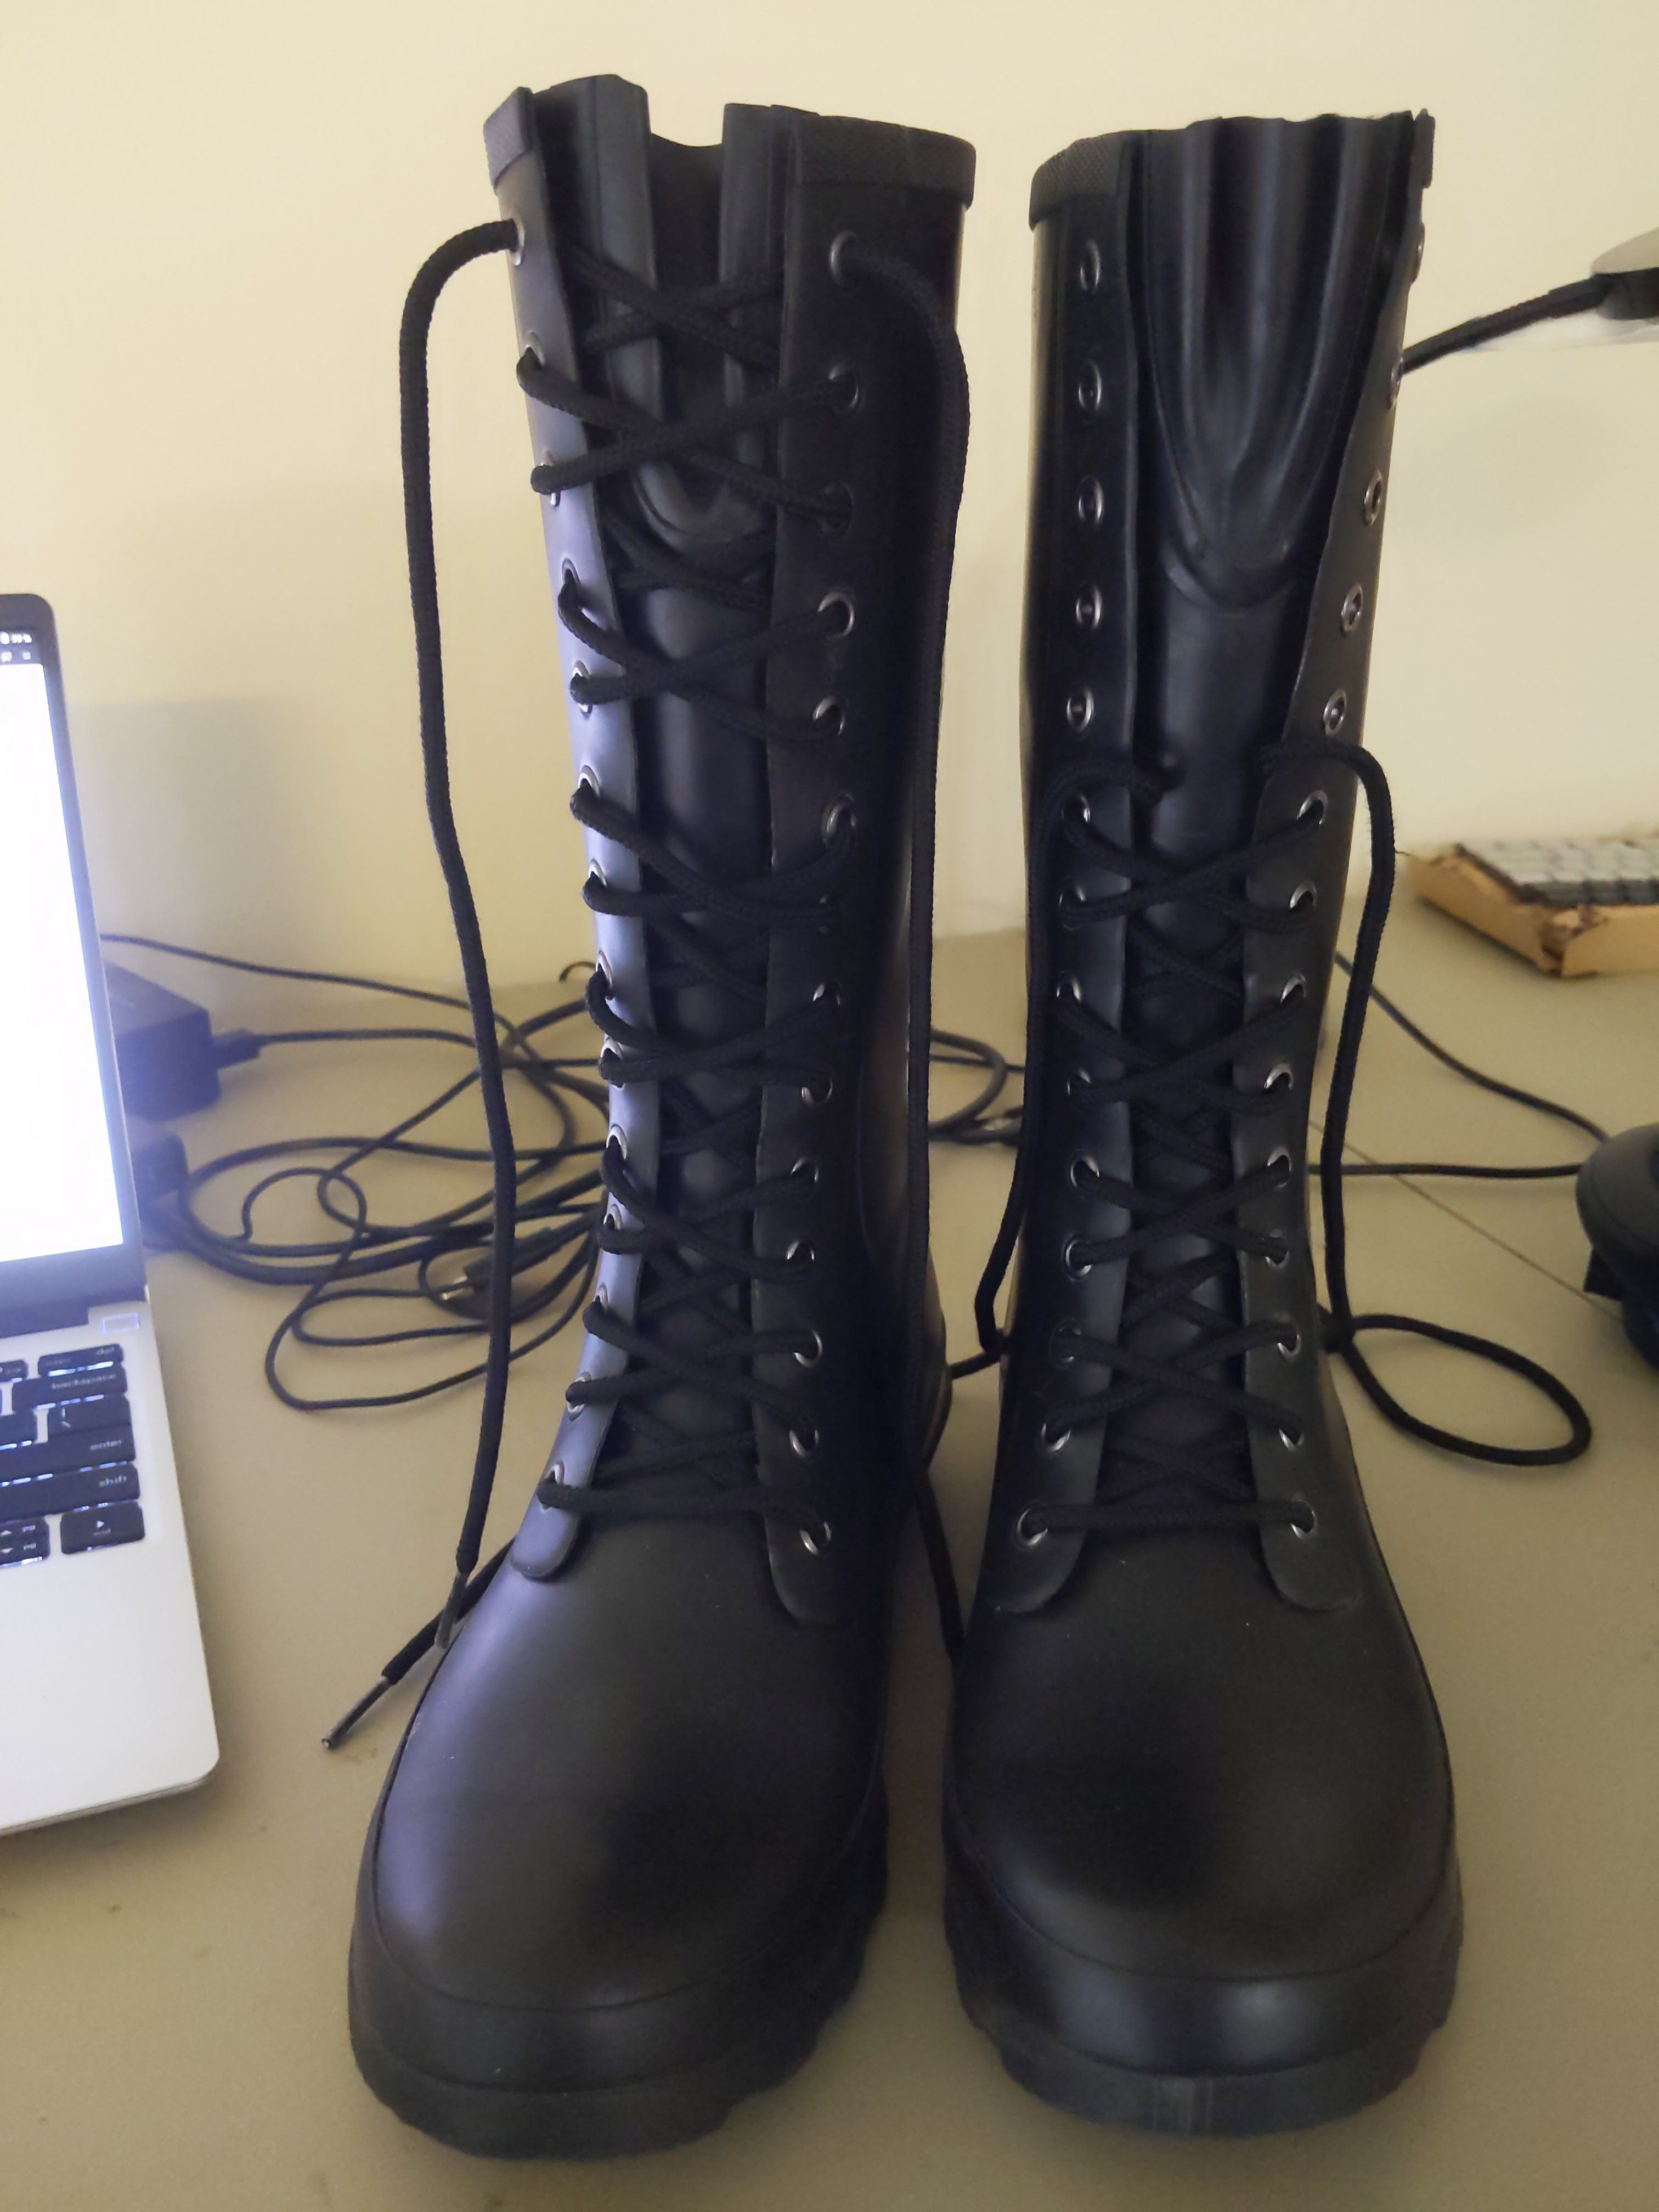
I found a way to encode text as binary data in boot laces, based on which lace crosses over the other. Read the image below, starting on the bottom left, going up the boot on the left, then back down the boot on the right, and decode it with this tool.
What?? #
Here I am, with a pair of boots on my desk, Ian's Shoelace Site open in one tab, and ASCII to Binary Converter open in another tab. It all started when I noticed the boots I got from the thrift store had variations in which lace crosses over the other. I decided to re-lace them all to be the same, but then I thought, "What if I put some of them one way, and some the other way, to encode binary data?" There are 13 crossovers on each boot, so that's 26 bits of information total for both boots. Each ASCII letter only uses 8 bits, so that's 24 bits for 3 letters. That leaves us with 2 extra bits, which I decided to use as a separator between bytes, just to make it easier to "read" (the gaps in the image above are the separators).
I did a quick search for "binary encoded in boot laces over under" to see if anyone had thought of this before, and it looks like no one has. But the search did find "over under lacing", which is different than I was thinking. Since I was relacing the boots anyway, I decided to also use over under lacing because it looks nice, and makes it 2x faster to tighten, and reduces wear and tear.
Steps #
#1 - feed the laces into the bottom #
Start by inserting the laces into the bottom rung (apparently called an "eyelet pair"), and following Ian's Shoelace Site Over Under Lacing Guide, it should be on the outside since I have an even number of eyelet pairs (14). Make sure you have an equal amount of length on either side.
#2 - start encoding a "0" #
Now comes the strange part. We need to pay attention to which lace we bring through first, which will determine which one is on top (the other one), which will in turn determine the data we have encoded on that "X".
The data we are encoding is 01010011 01010101 01010011, so for the first bit, a 0, we will cross the right lace to the left.
#3 - finish encoding a "0" #
Complete the 0 by bringing the left lace to the right.
#4 - start encoding a "1" #
The next bit we want to encode from 01010011 01010101 01010011 is a 1, so so the opposite of last time, starting by crossing the left lace to the right.
#5 - finish encoding a "1" #
Complete the 1 by bringing the right lace to the left. You can see how the X created by the laces has a different lace in front for the 0 and the 1.
Side note: I'm not sure what the standard is for which one should be a 0 or 1, but much like whoever decided the charge of a proton is positive, I'm making an executive decision, and all other boot lace binary coders must follow my arbitrary precident (or alternatively try decoding it as ASCII and if it doesn't make sense, invert it and try again). Another executive decision I've made is to start at the bottom of the left boot (the right boot if you're the person wearing it) and go upward, then back down the other boot. Will other people who independently invent this process start on the other boot? Or the top of the boot and go down? (Side side note: After reading up on gap lacing, it might be better to have the gaps closer to the ankles for more flexibility, which would require starting at the top, or not caring that the gaps don't align to the ASCII bytes. Of course, all the types of lacing just provide even more ways to encode data, so maybe I'll make an updated guide on how to pack more information per eyelet. And maybe I'll invent shoelace notation similar to juggling notation. (Funny enough, both are applicable to clowns.)) Or read both boots simultaneously left to right like a page? You can see we are already running into the kind of "off by -1x" errors you might encounter when dealing with charged particles, or the MSB/LSB first differences in computers. All this and more will become important when we assemble an army of boot-wearing individuals into a grid like a giant ROM, have someone read the data from their laces bit by bit, and hand-lace it into program memory like they hand-wound the coils on the computer that went to the moon. Then someone grabs a shoelace protruding from an apparatus that looks like the Gordian Knot and yanks it like a lawn mower cord, which appears to do nothing, but after a swift kick from the steel-toed boot it whirrs into motion, tugging on laces and pulleys that rotate thousands of boots arranged into a massive grid, showing and hiding the soles to form pixels of a moving image, which when viewed from a distance appears to be a masked man firing 2 guns with the stylized text, "DOOM".
#6 - encode another "0" and another "1" #
Since the next 2 bits happen to be the same as the first 2 (01010011 01010101 01010011), repeat steps 2-5 to encode another 0 and 1.
#7 - encode the next 4 bits (0011) #
The next 4 bits (01010011 01010101 01010011) are different then the first 4, so be careful to encode the 0's (like steps 2-3) and 1's (like steps 4-5) correctly.
#8 - encode a separator #
Since the first 8 bits are done, that is 1 complete letter! Since we have an extra eyelet pair I decided to use it as a separator between letters, by simply feeding each lace directly upward and out the next eyelet.
Note: if you have boots with 1 fewer eyelet pair, you can leave out the separator. If you have more eyelet pairs, you will need more separators, maybe every 4 bits or an extra at the bottom and top. See gap lacing for a guide on how to add gaps of various heights.
#9 - encode a 0 #
Now we are starting the 1st bit of the 2nd letter (01010011 01010101 01010011).
#10 - encode the next 3 bits (101) #
After the next 3 bits of the 2nd letter (01010011 01010101 01010011), we have finished one boot! Each boot will hold one and a half letters.
#11 - start the next boot #
The 2nd boot is a bit more tricky. We want the separator to be in the same place as the other boot visually, so we must start from the top, continuing the 2nd letter (4 bits left) and then doing the 3rd letter (8 bits). The issue is that we can't lace starting from the top, so we have to start from the bottom, but reverse the order.
- The entire data: 01010011 01010101 01010011
- The bits we are trying to encode on the 2nd boot: 0101 01010011
- Now if we reverse the bits: 11001010 1010
This way we can follow the same process as the first boot, but just operate on this reversed data. This picture shows the 1st four bits of our reversed data (11001010 1010).
#12 - finish the 3rd letter #
Now the next 4 bits (11001010 1010), which finishes up our 3rd letter (remember, we are working backwards from the end).
#13 - another separator #
Create another separator, same as step #8.
#14 - last 4 bits! #
Finally, we do the last 4 bits (11001010 1010), which finishes up the 2nd boot. We are done!
Decode the Secret Message #
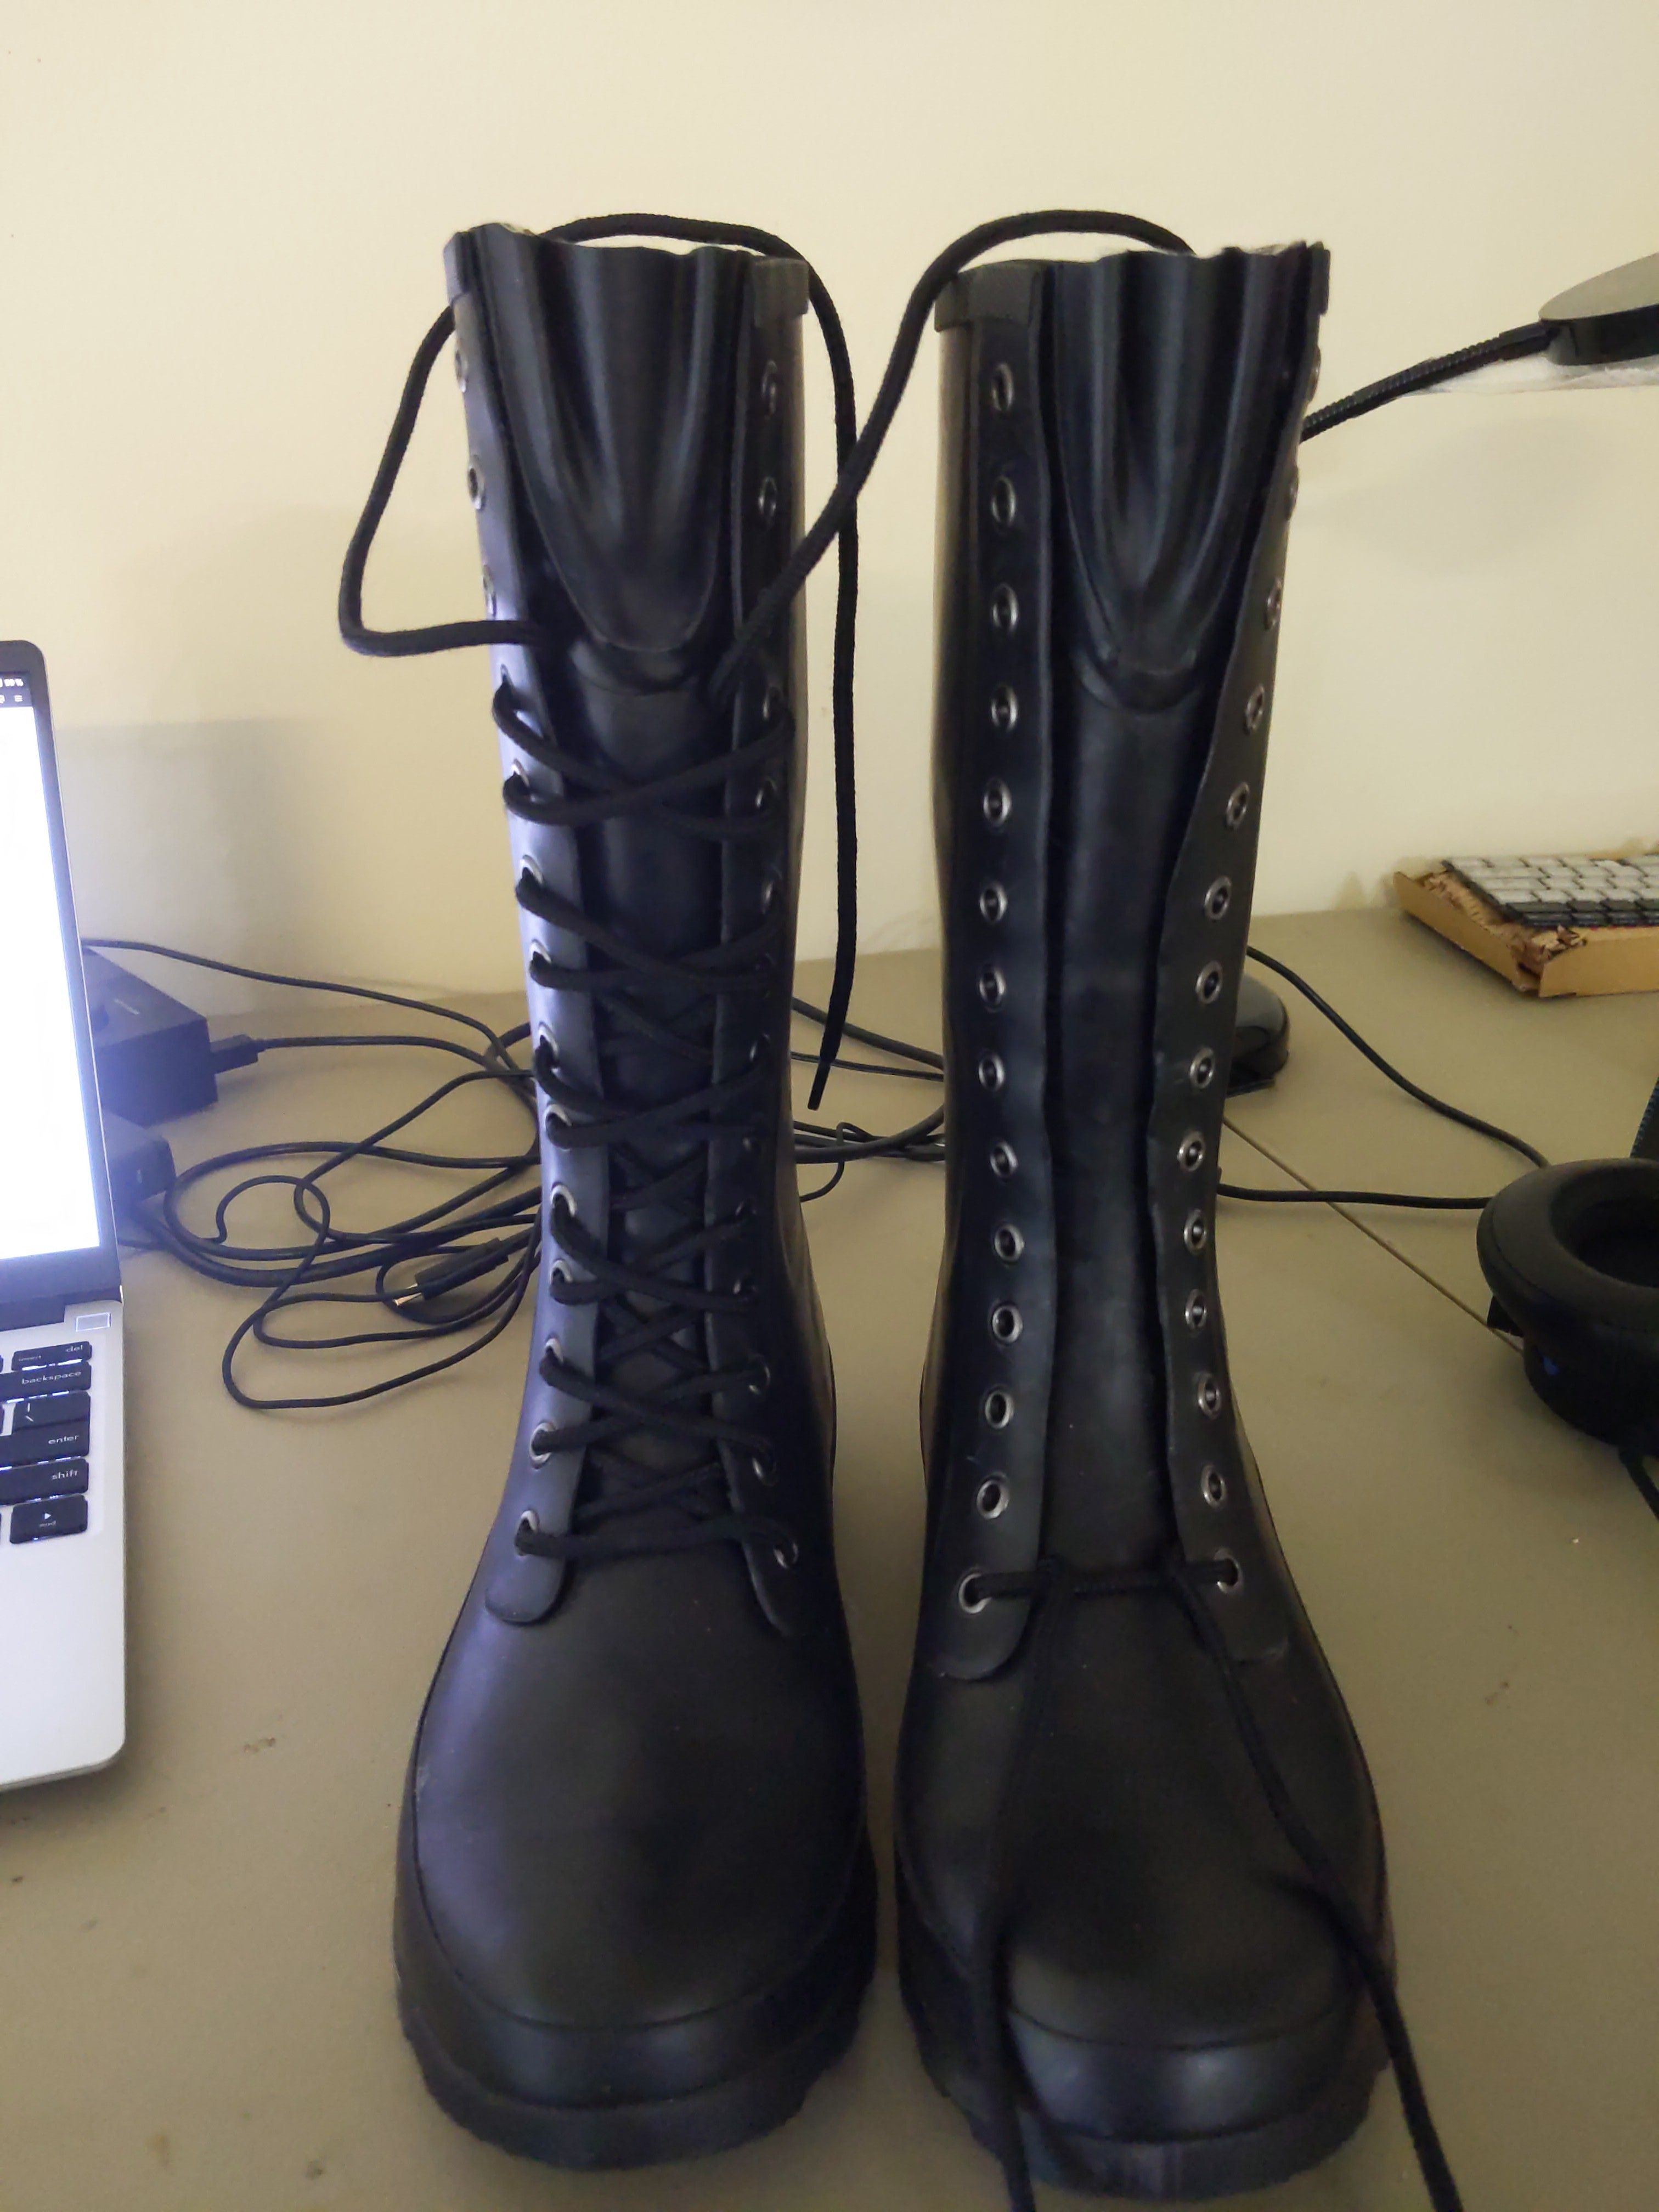
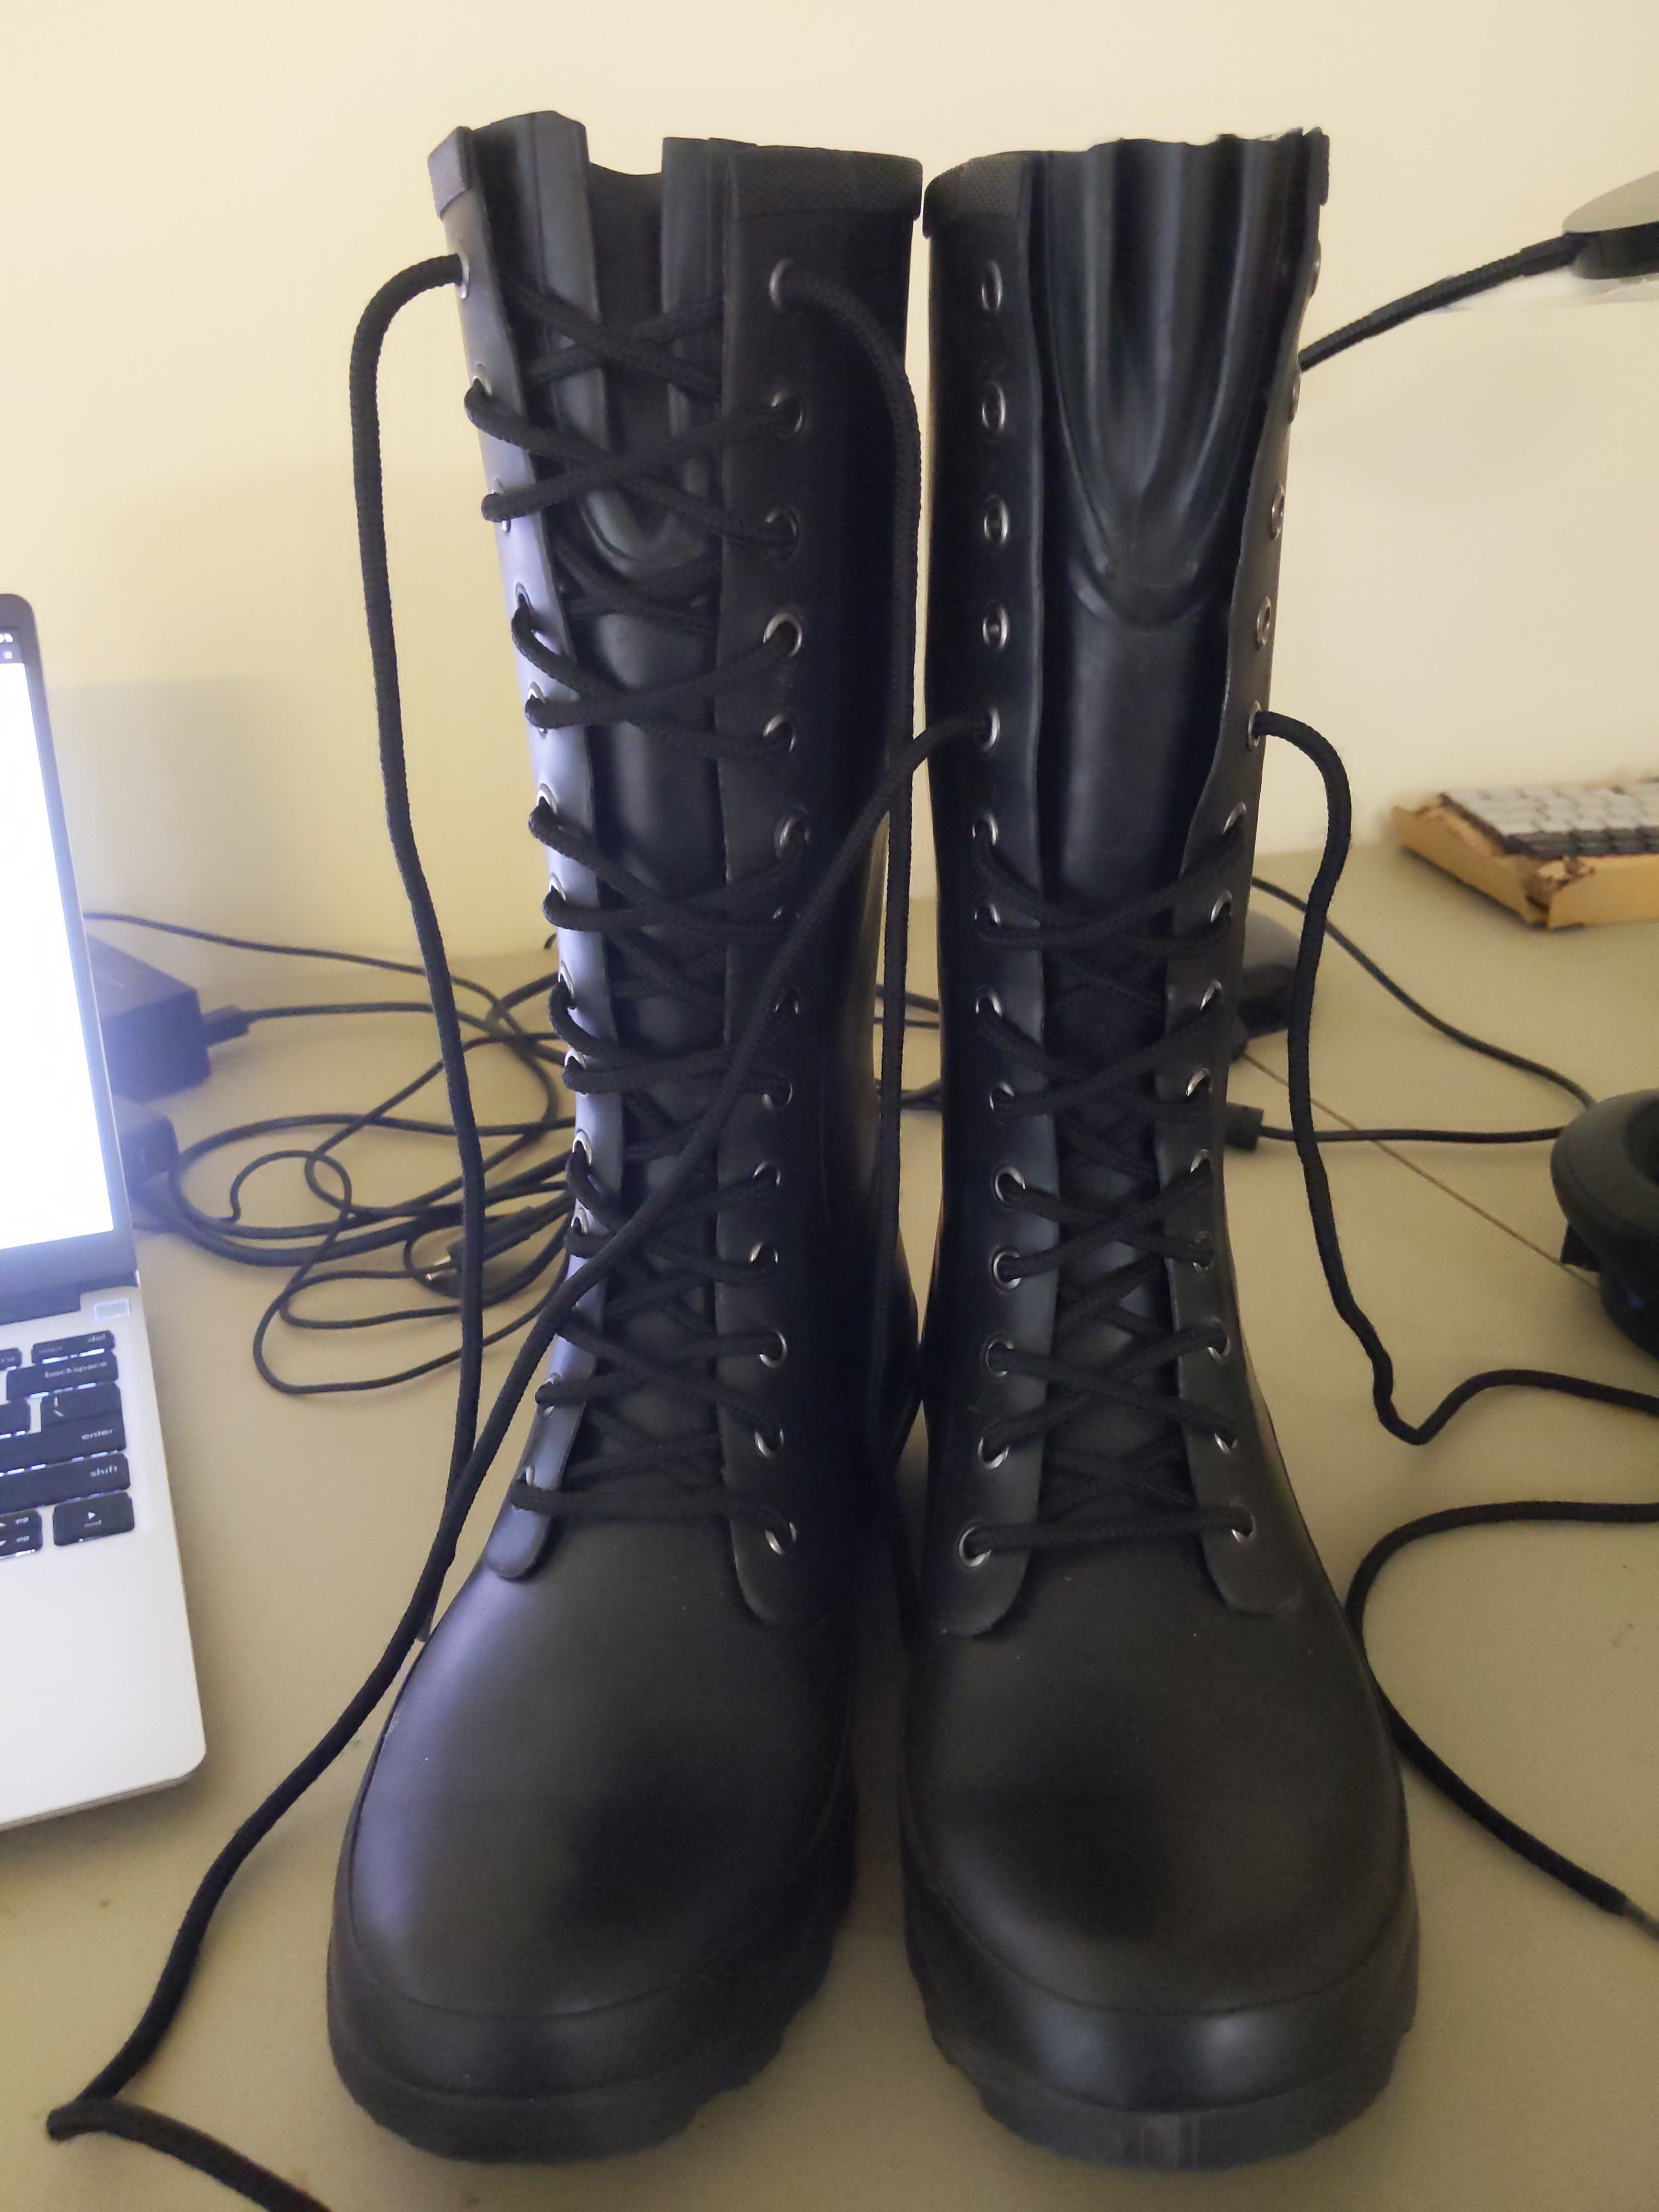
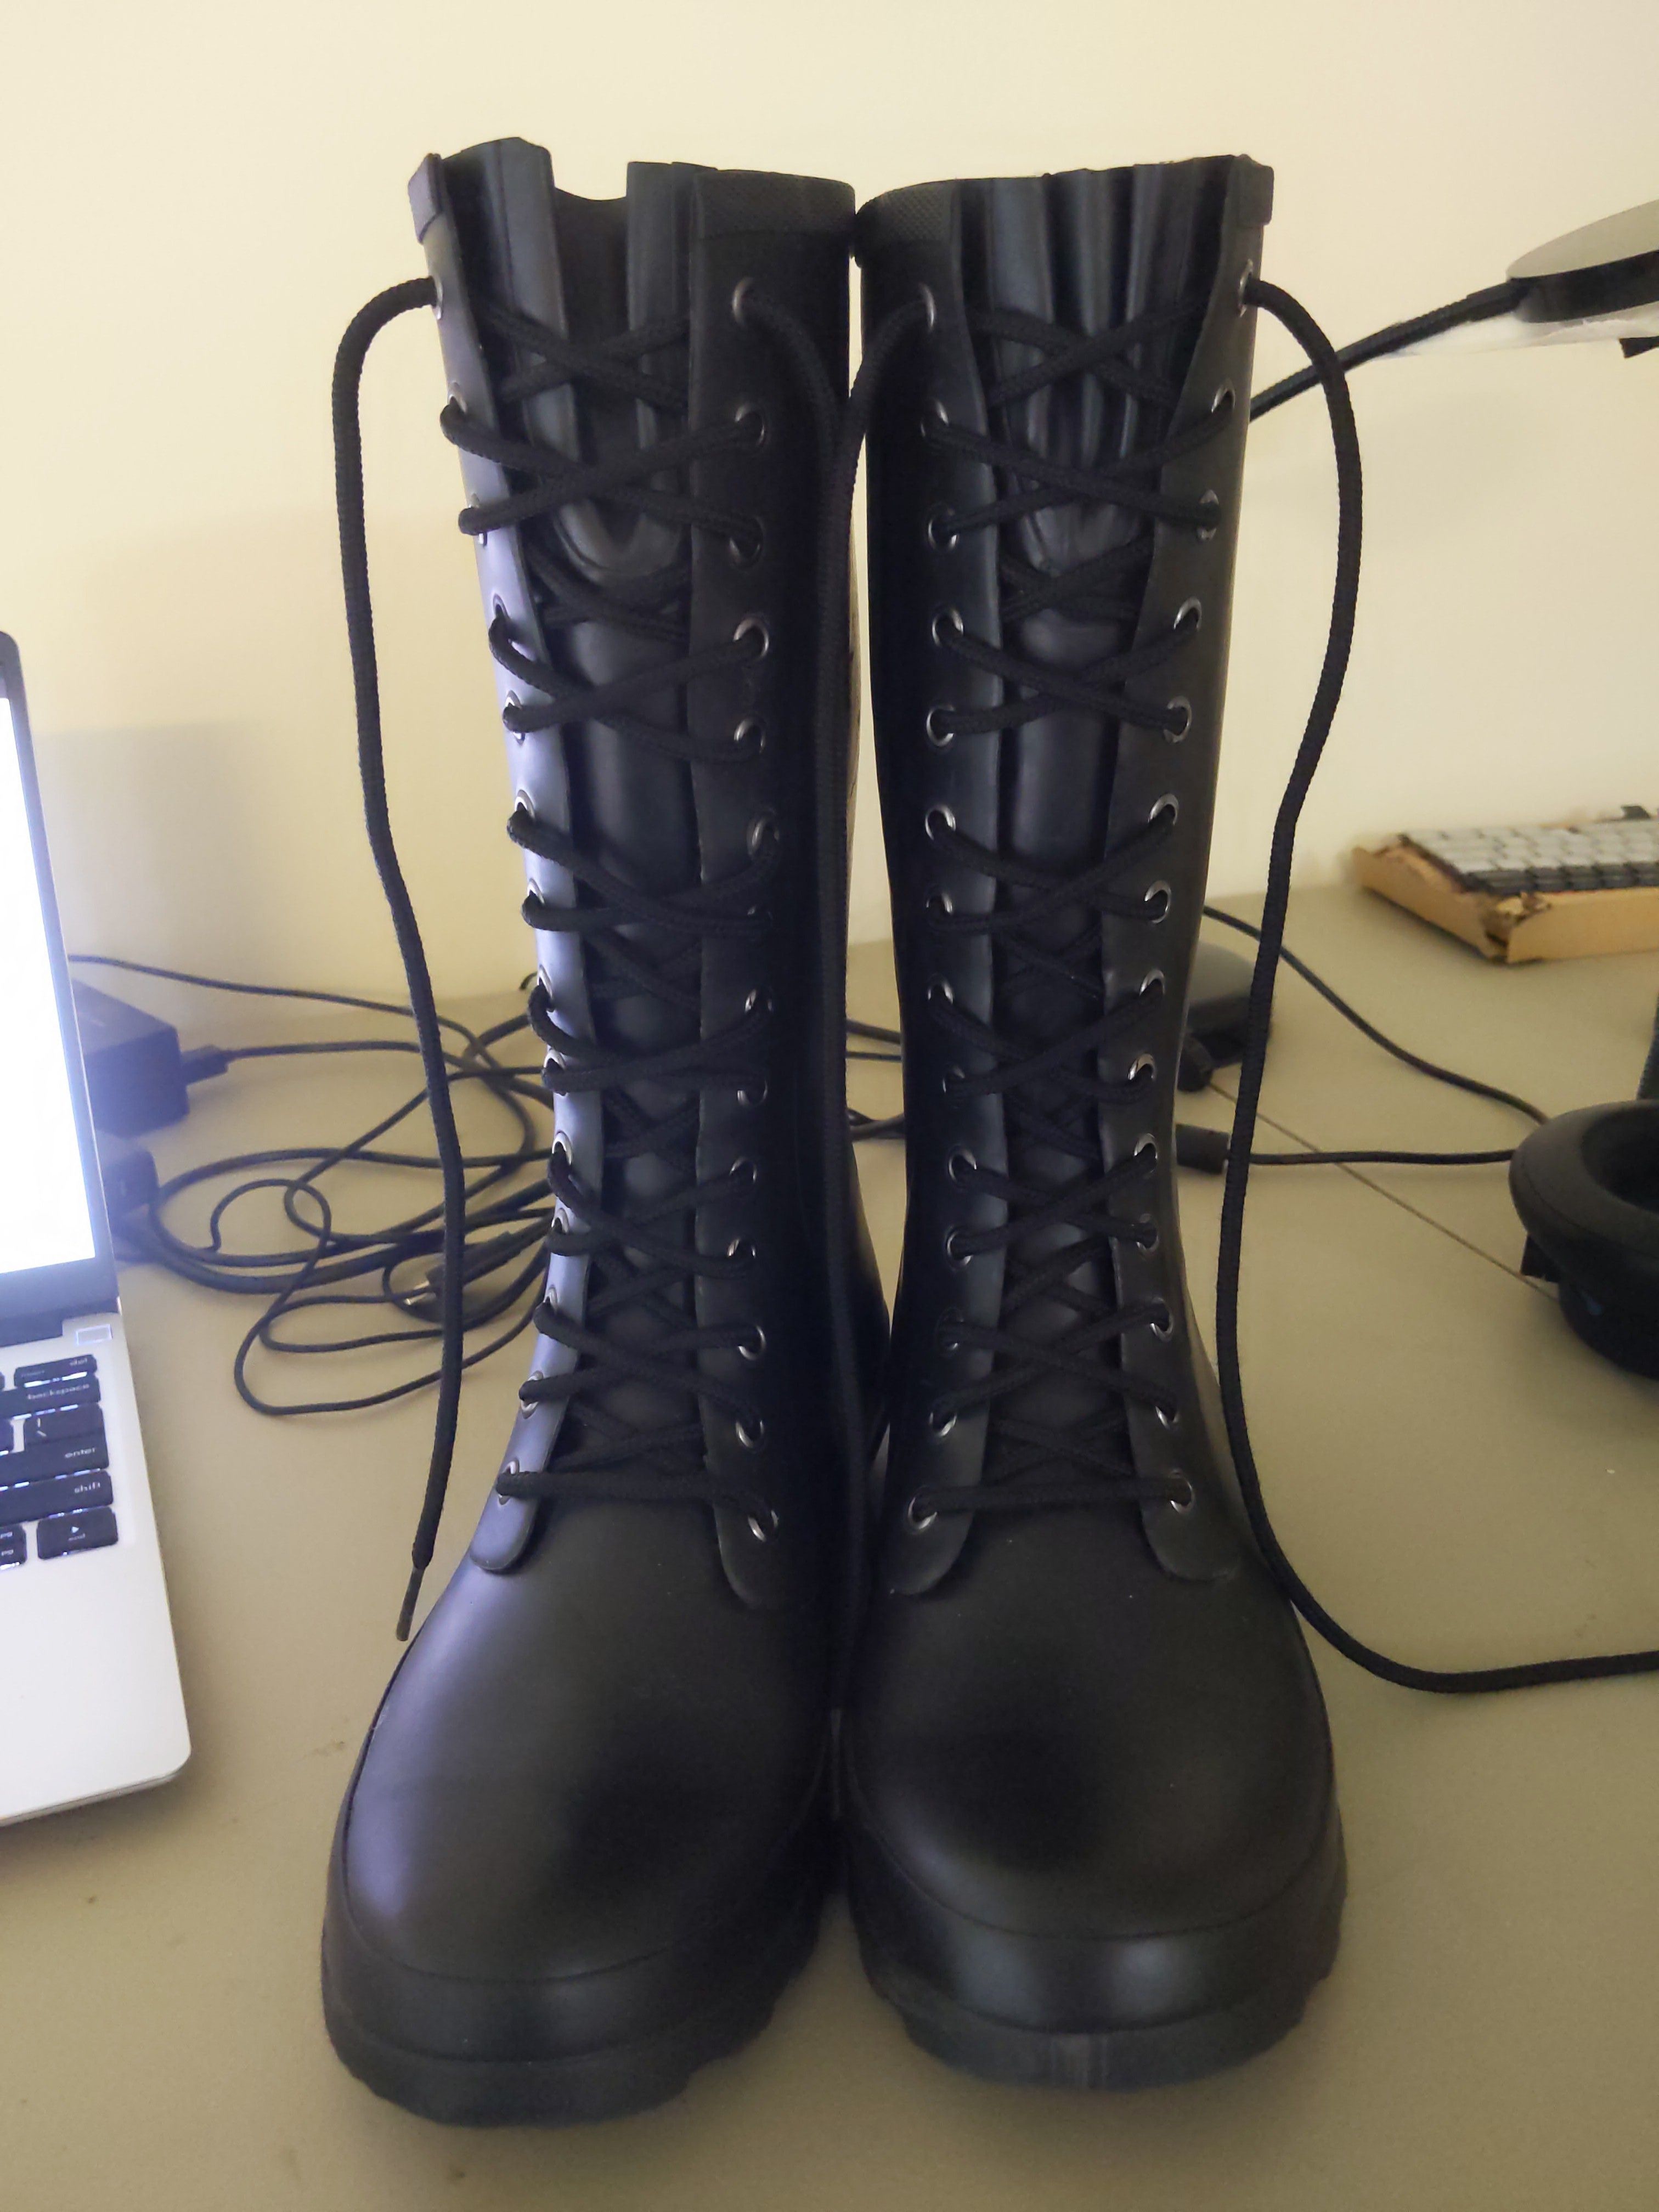
To read the data, start on the bottom left, going up the boot, then over and back down the other boot. When the bottom-left to top-right lace is over the other one, that's a "0". When it's under, that's a "1". The green lines illustrate this, see how the X the lace makes has 2 different types. You can also put a space when there is a separator, but this is optional. Enter the data into this tool to see the secret message!
Bonus! #
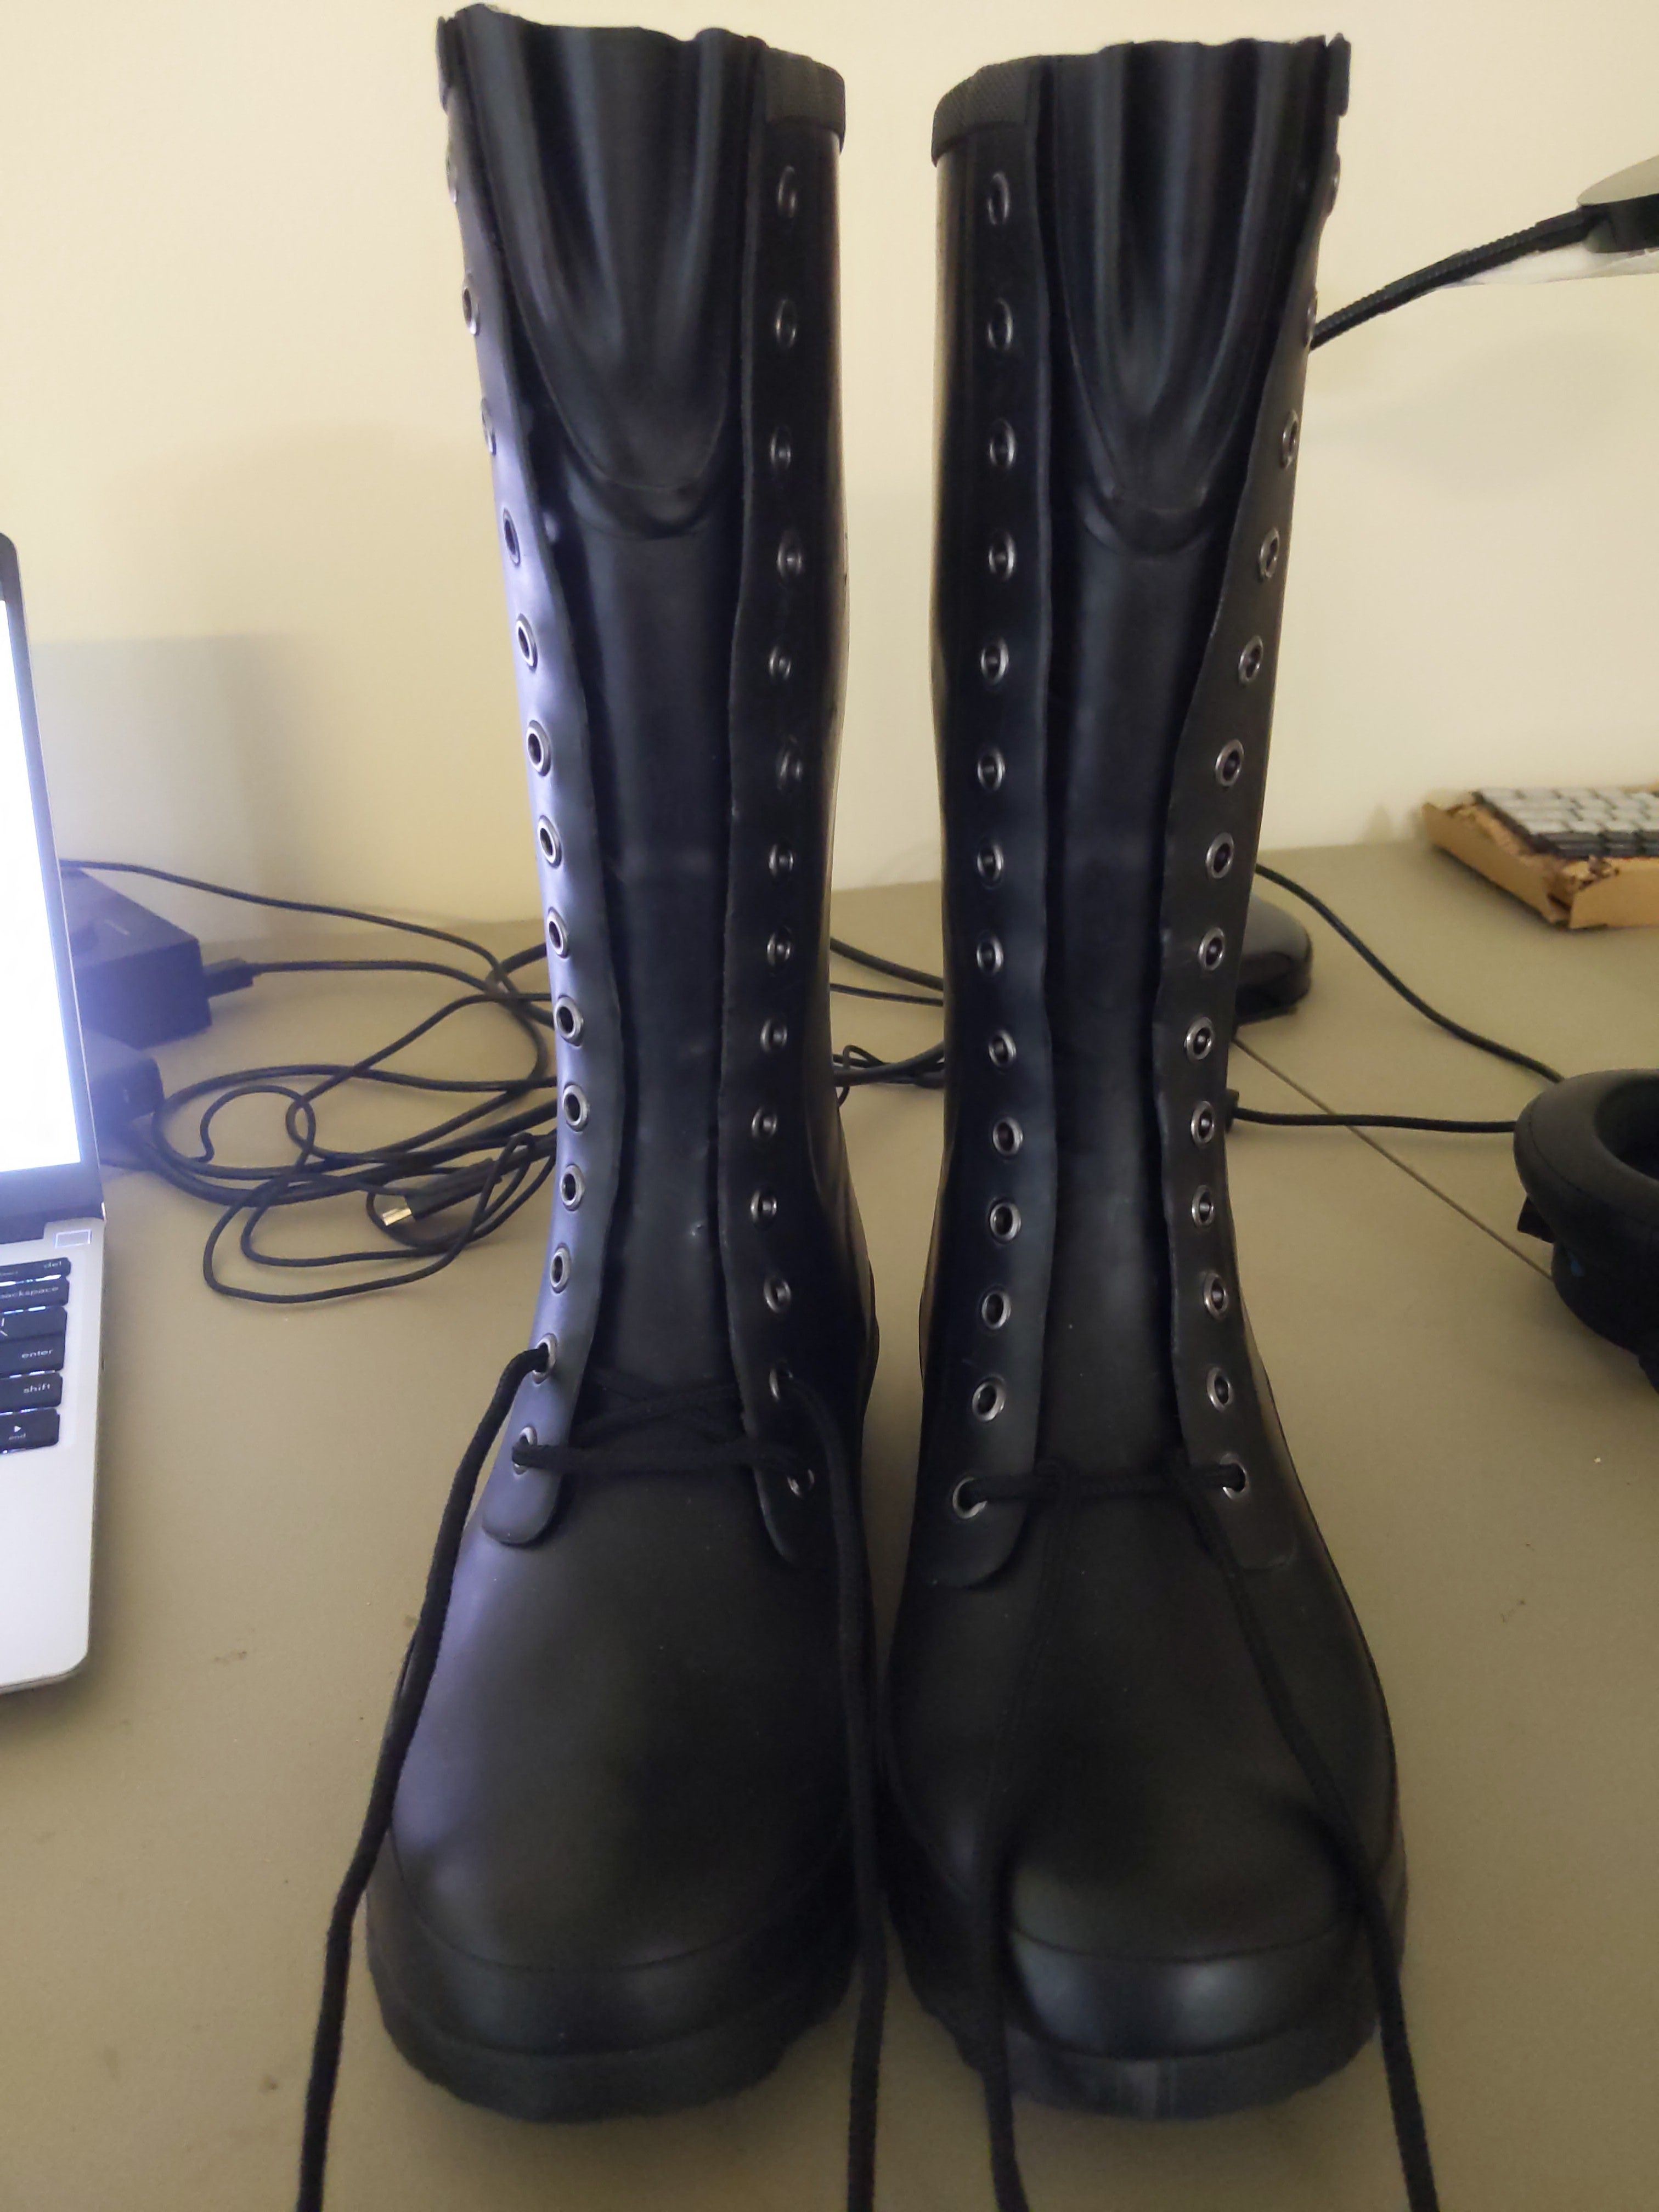
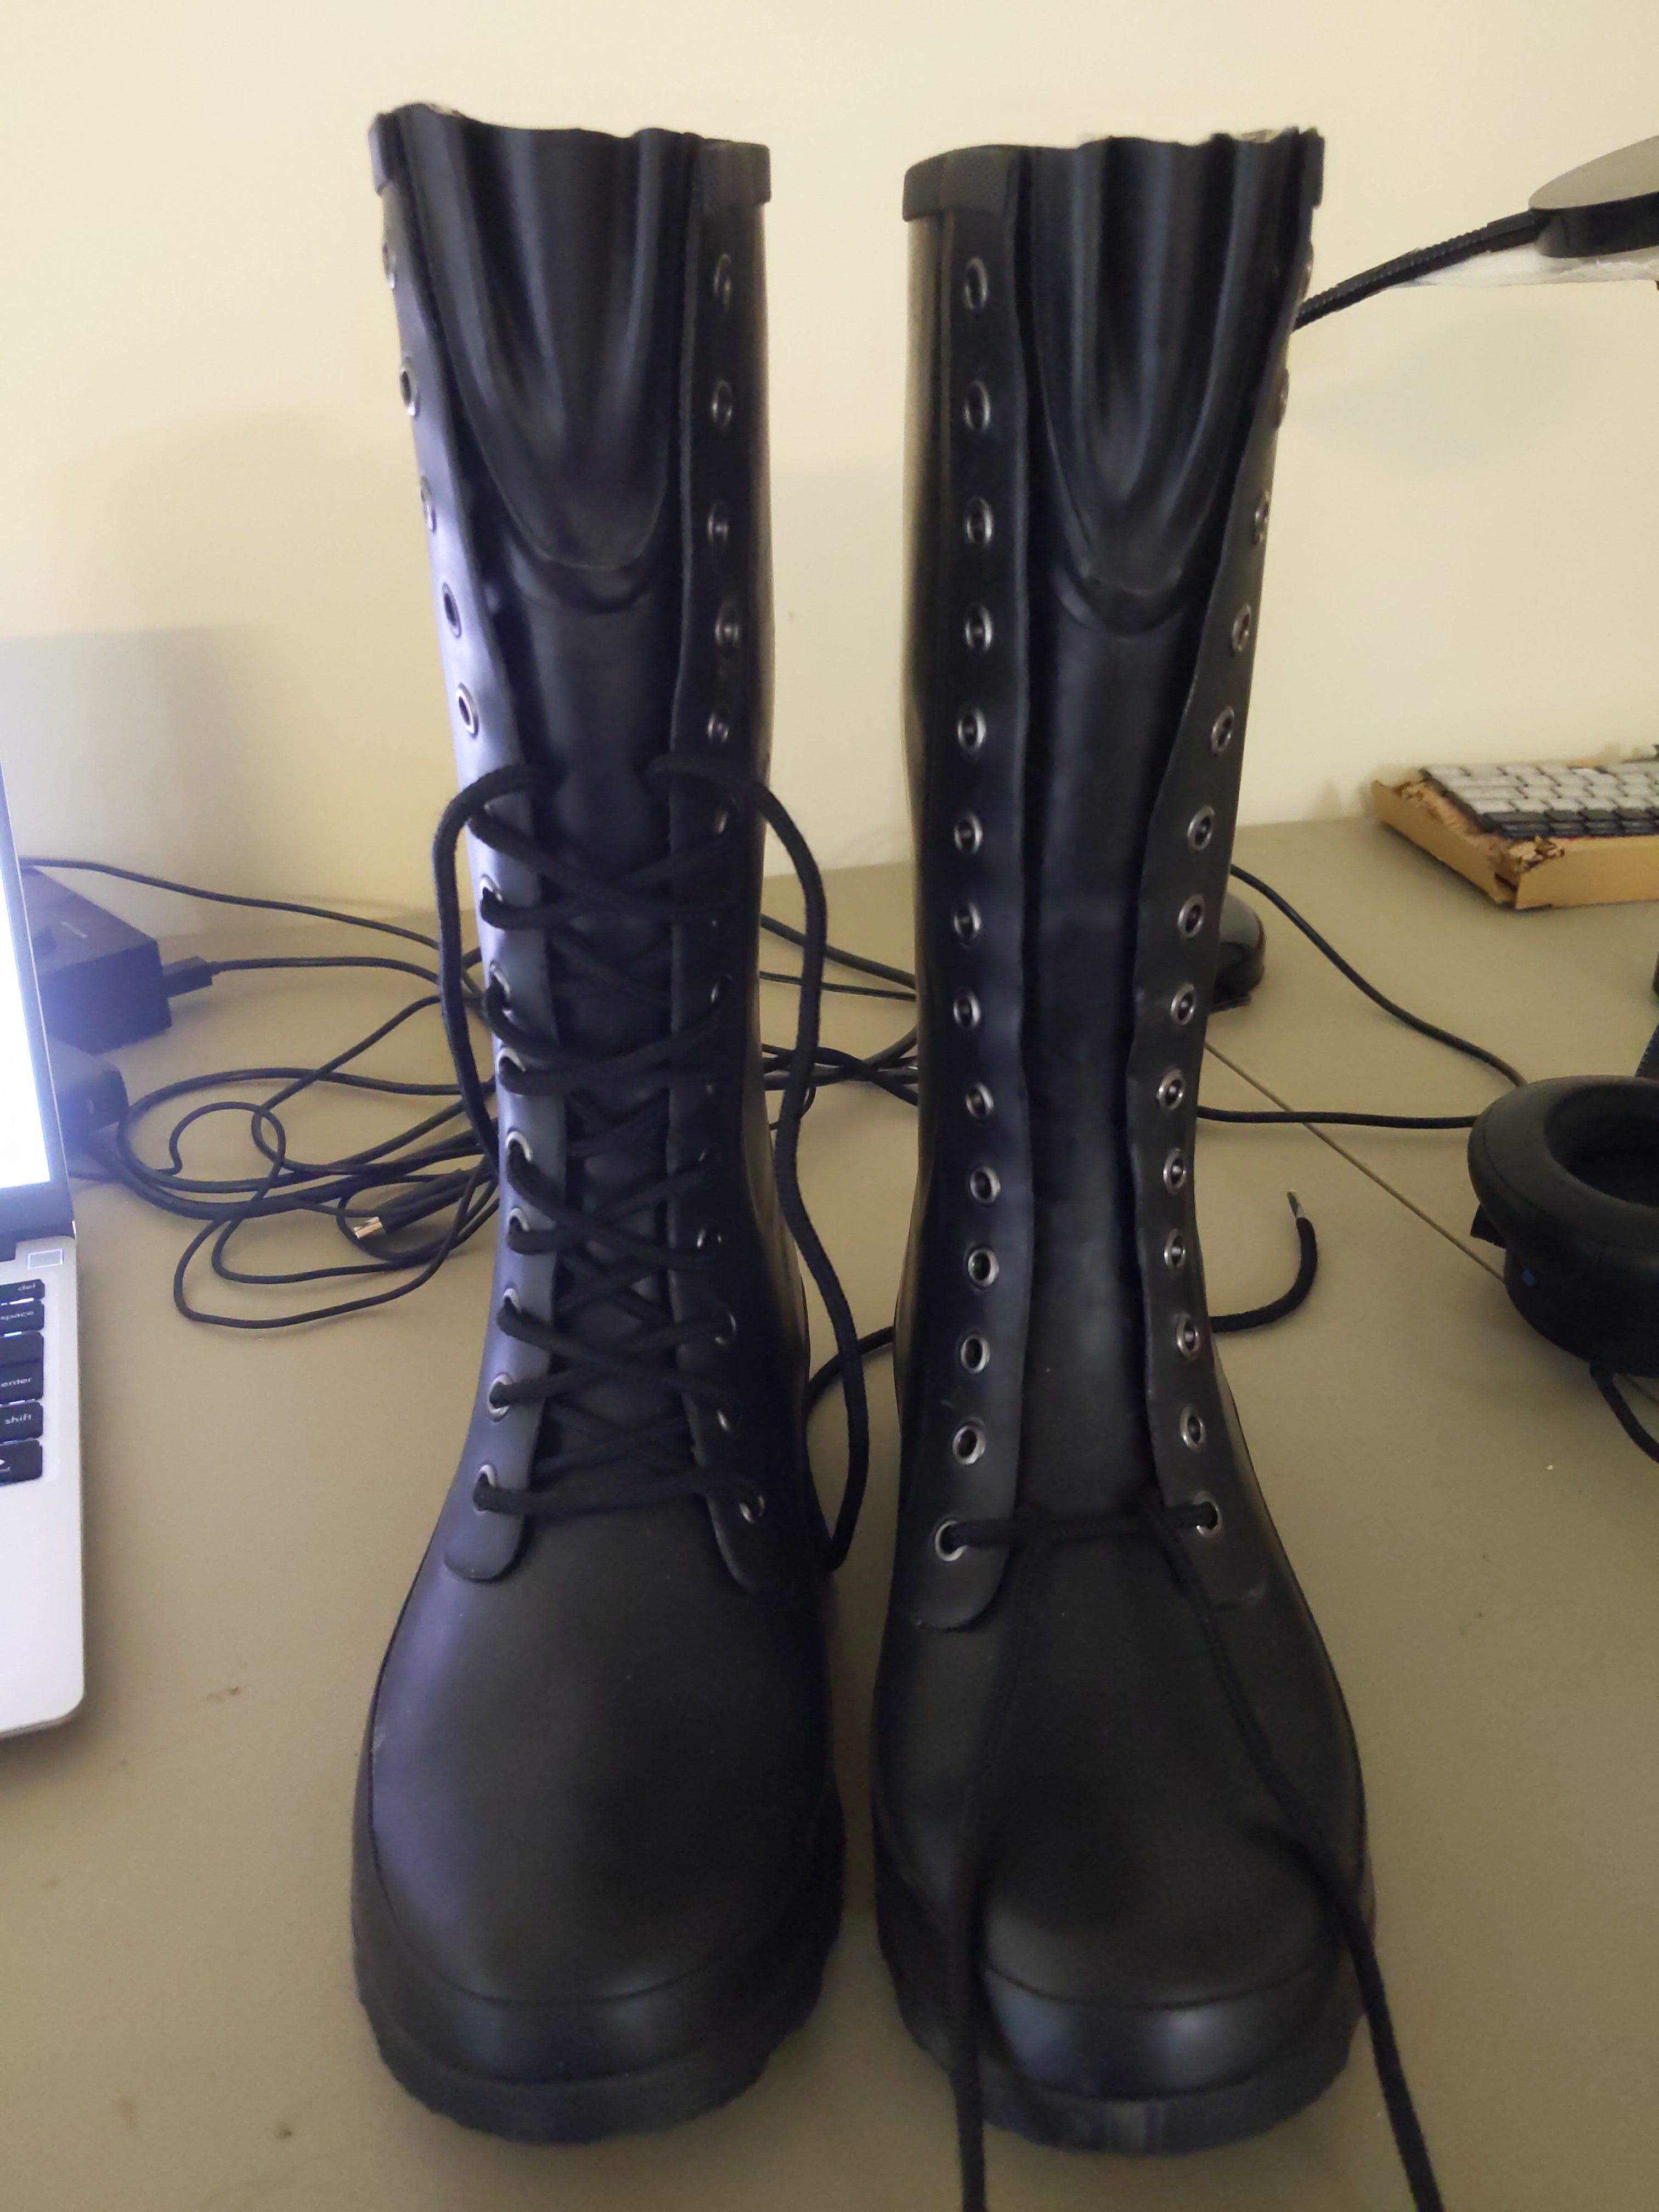
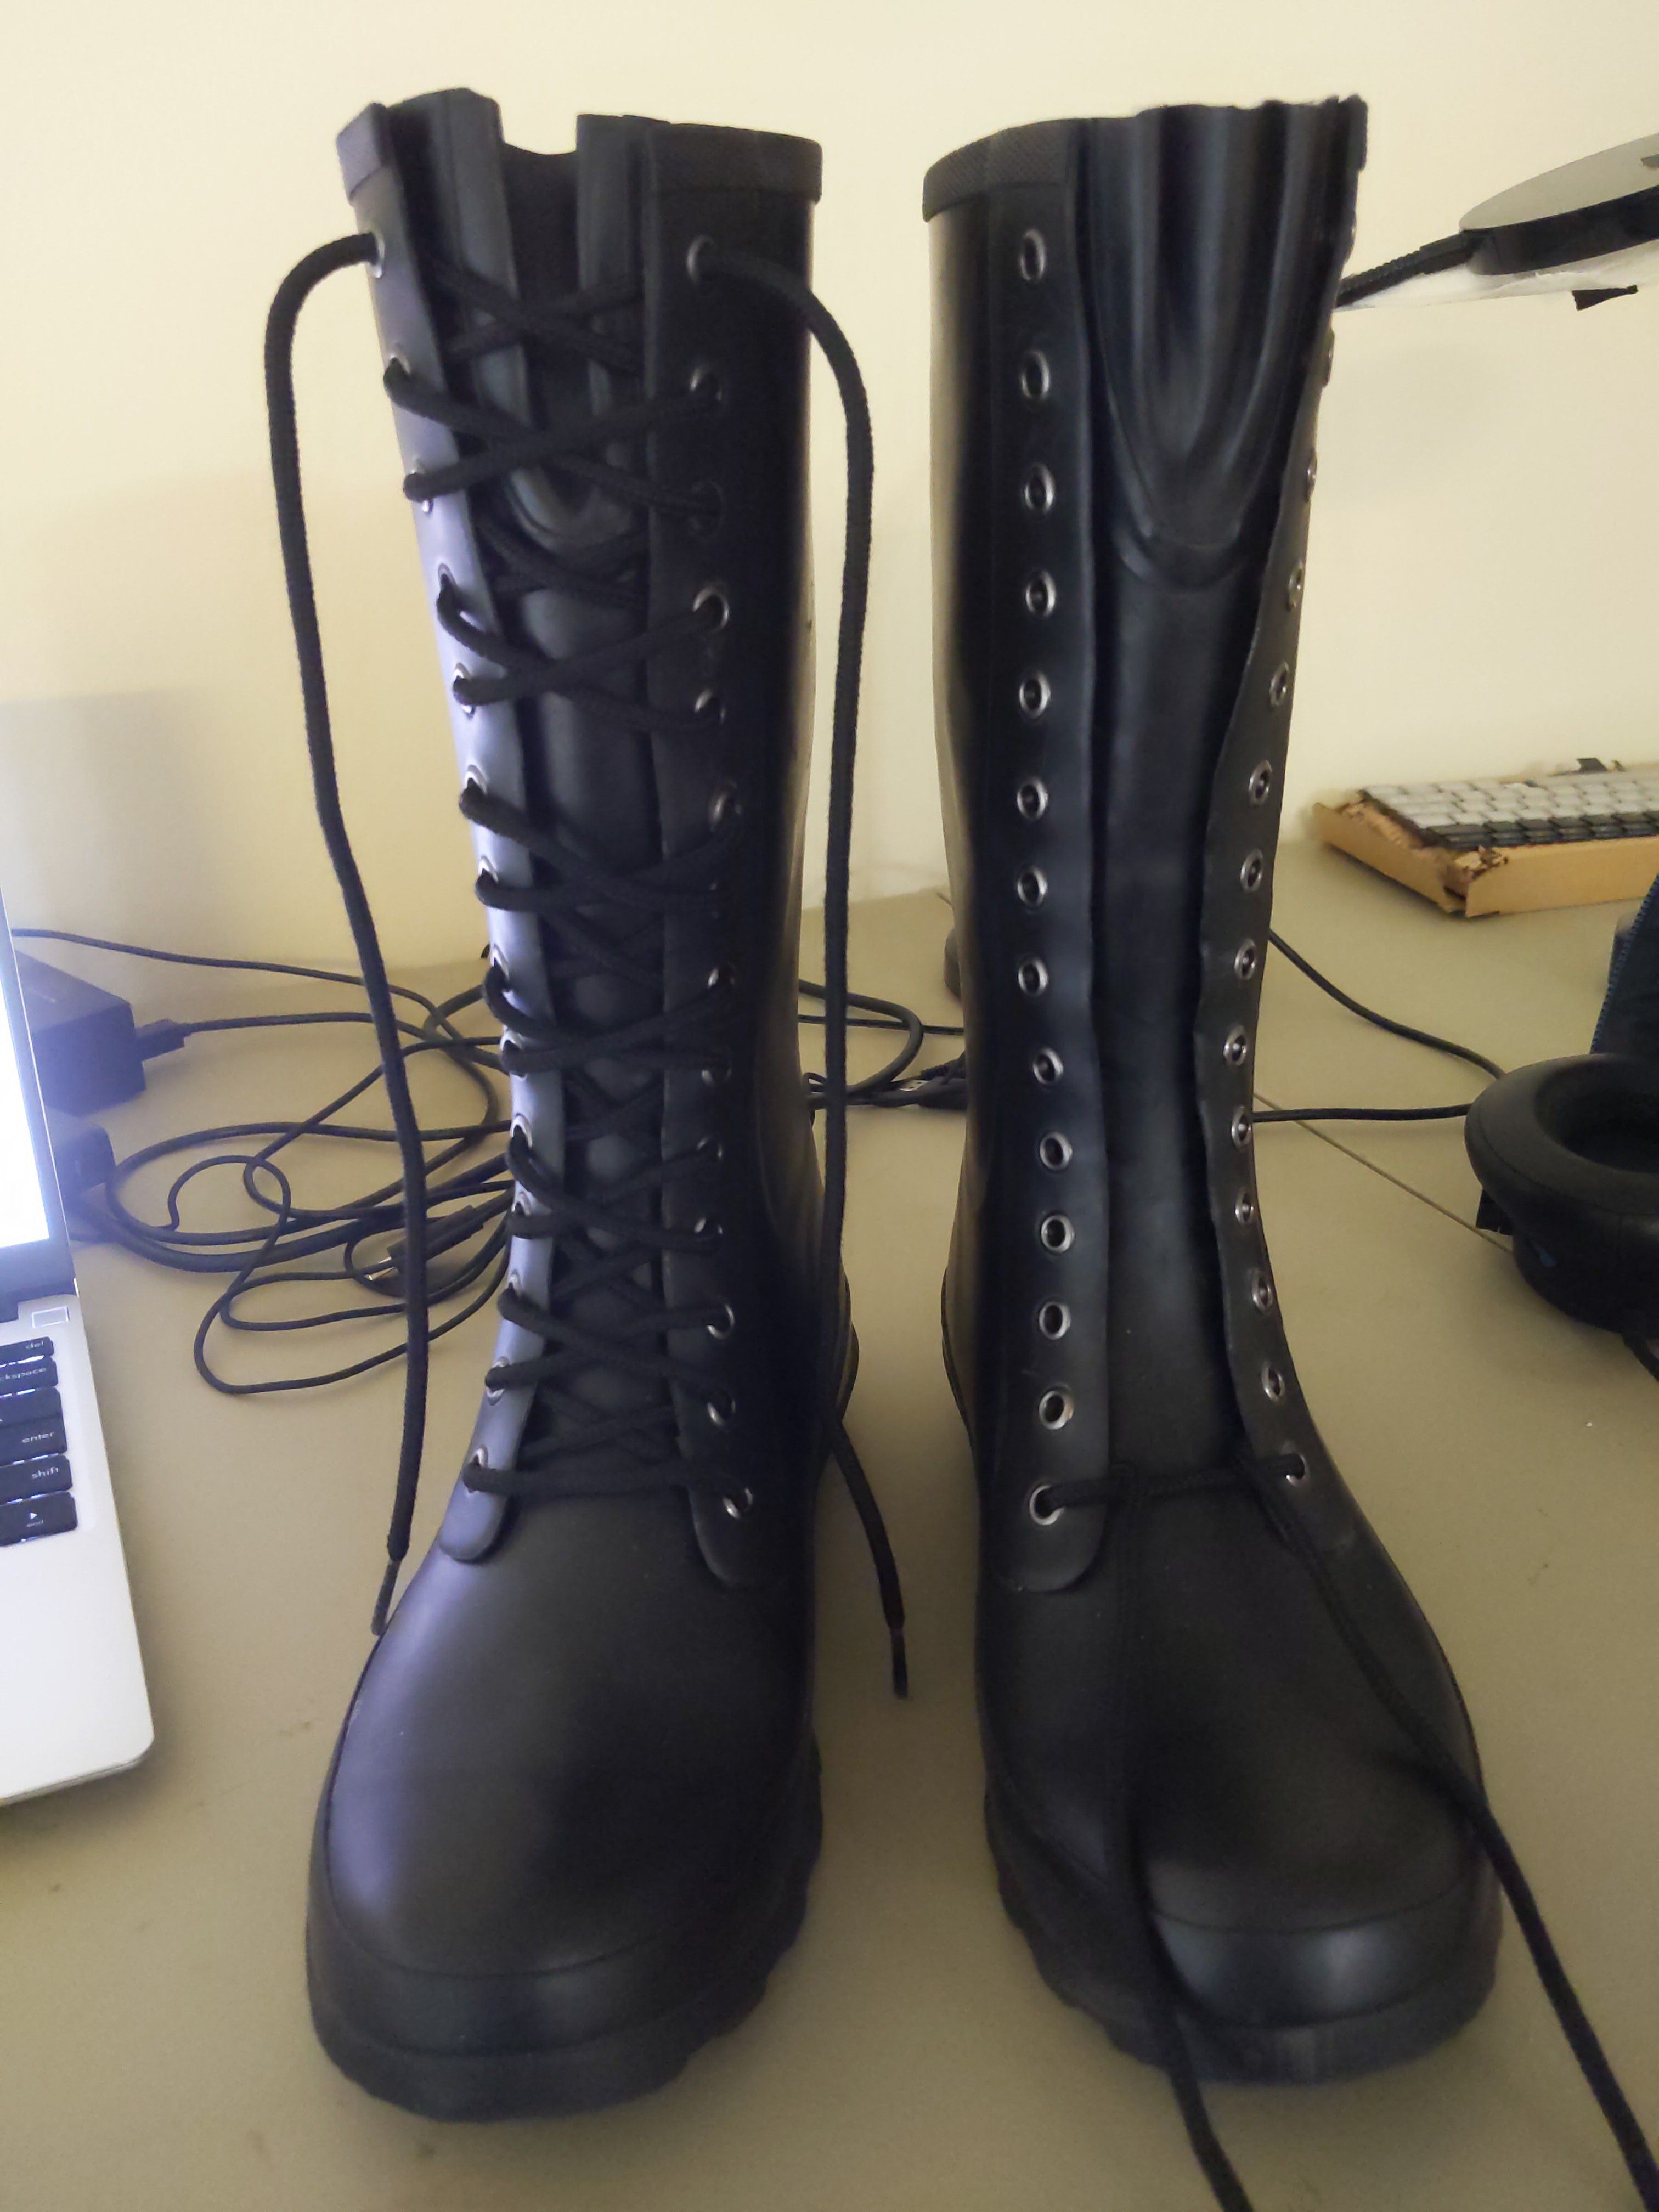
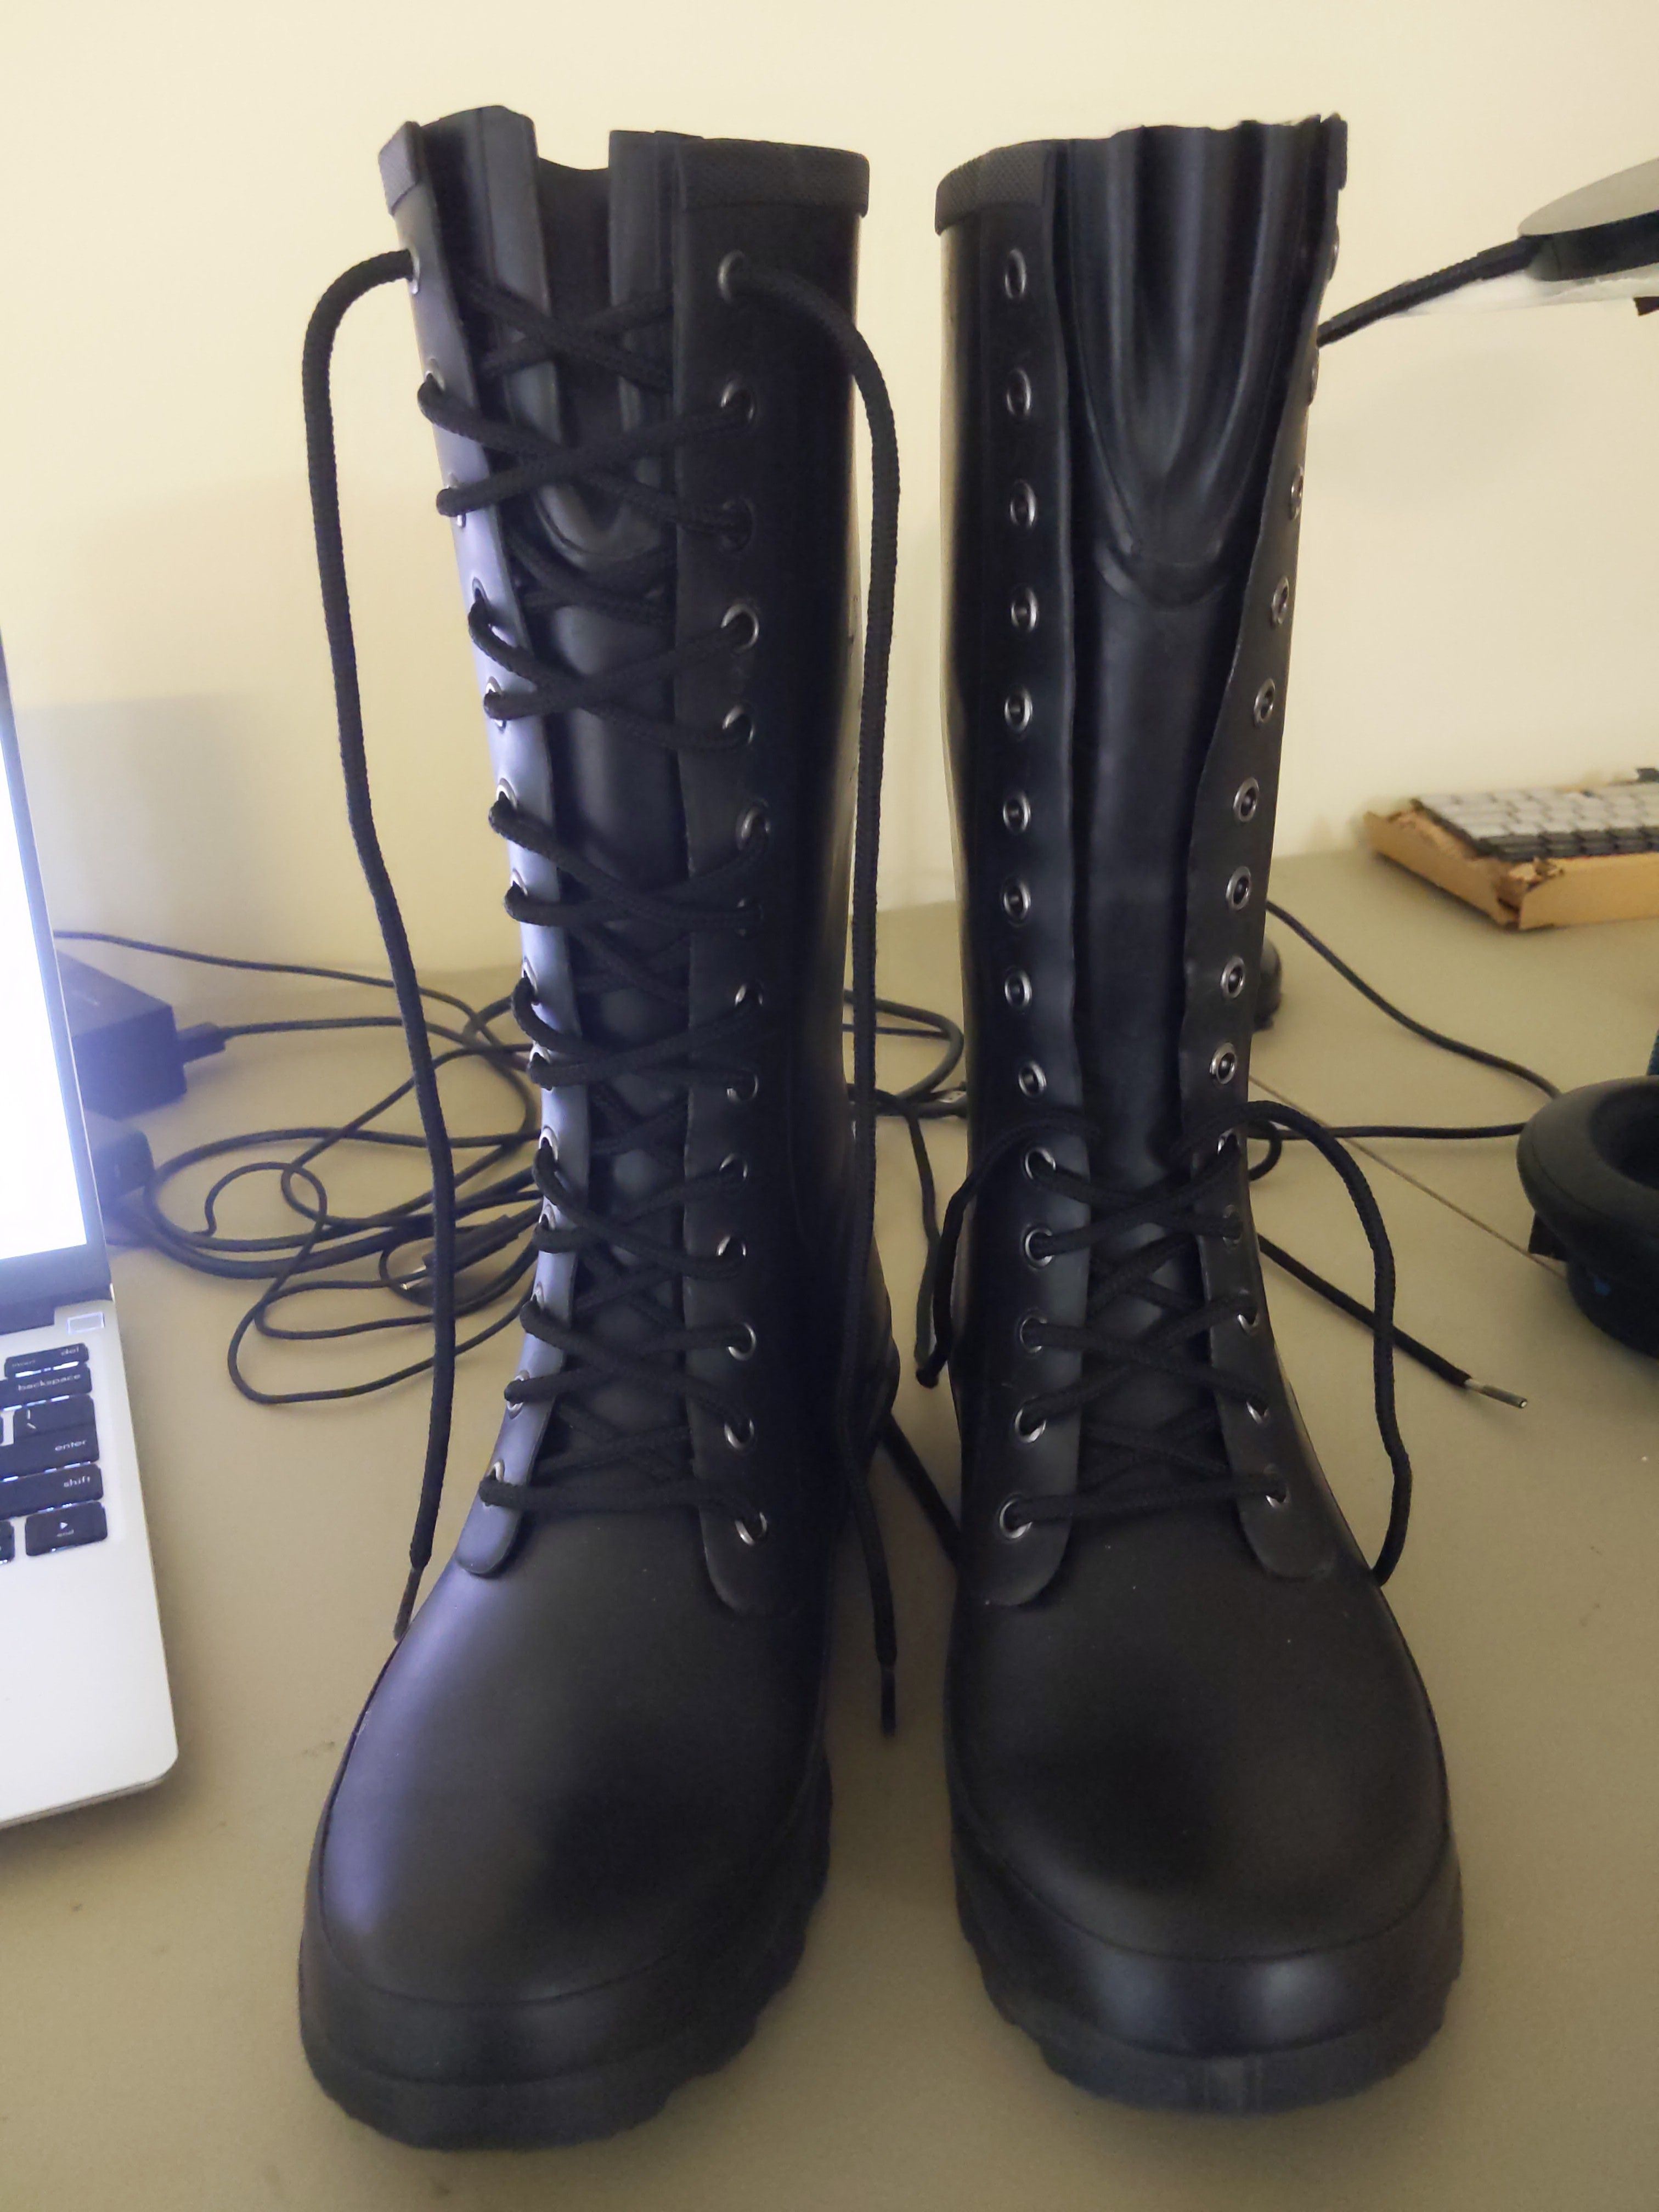
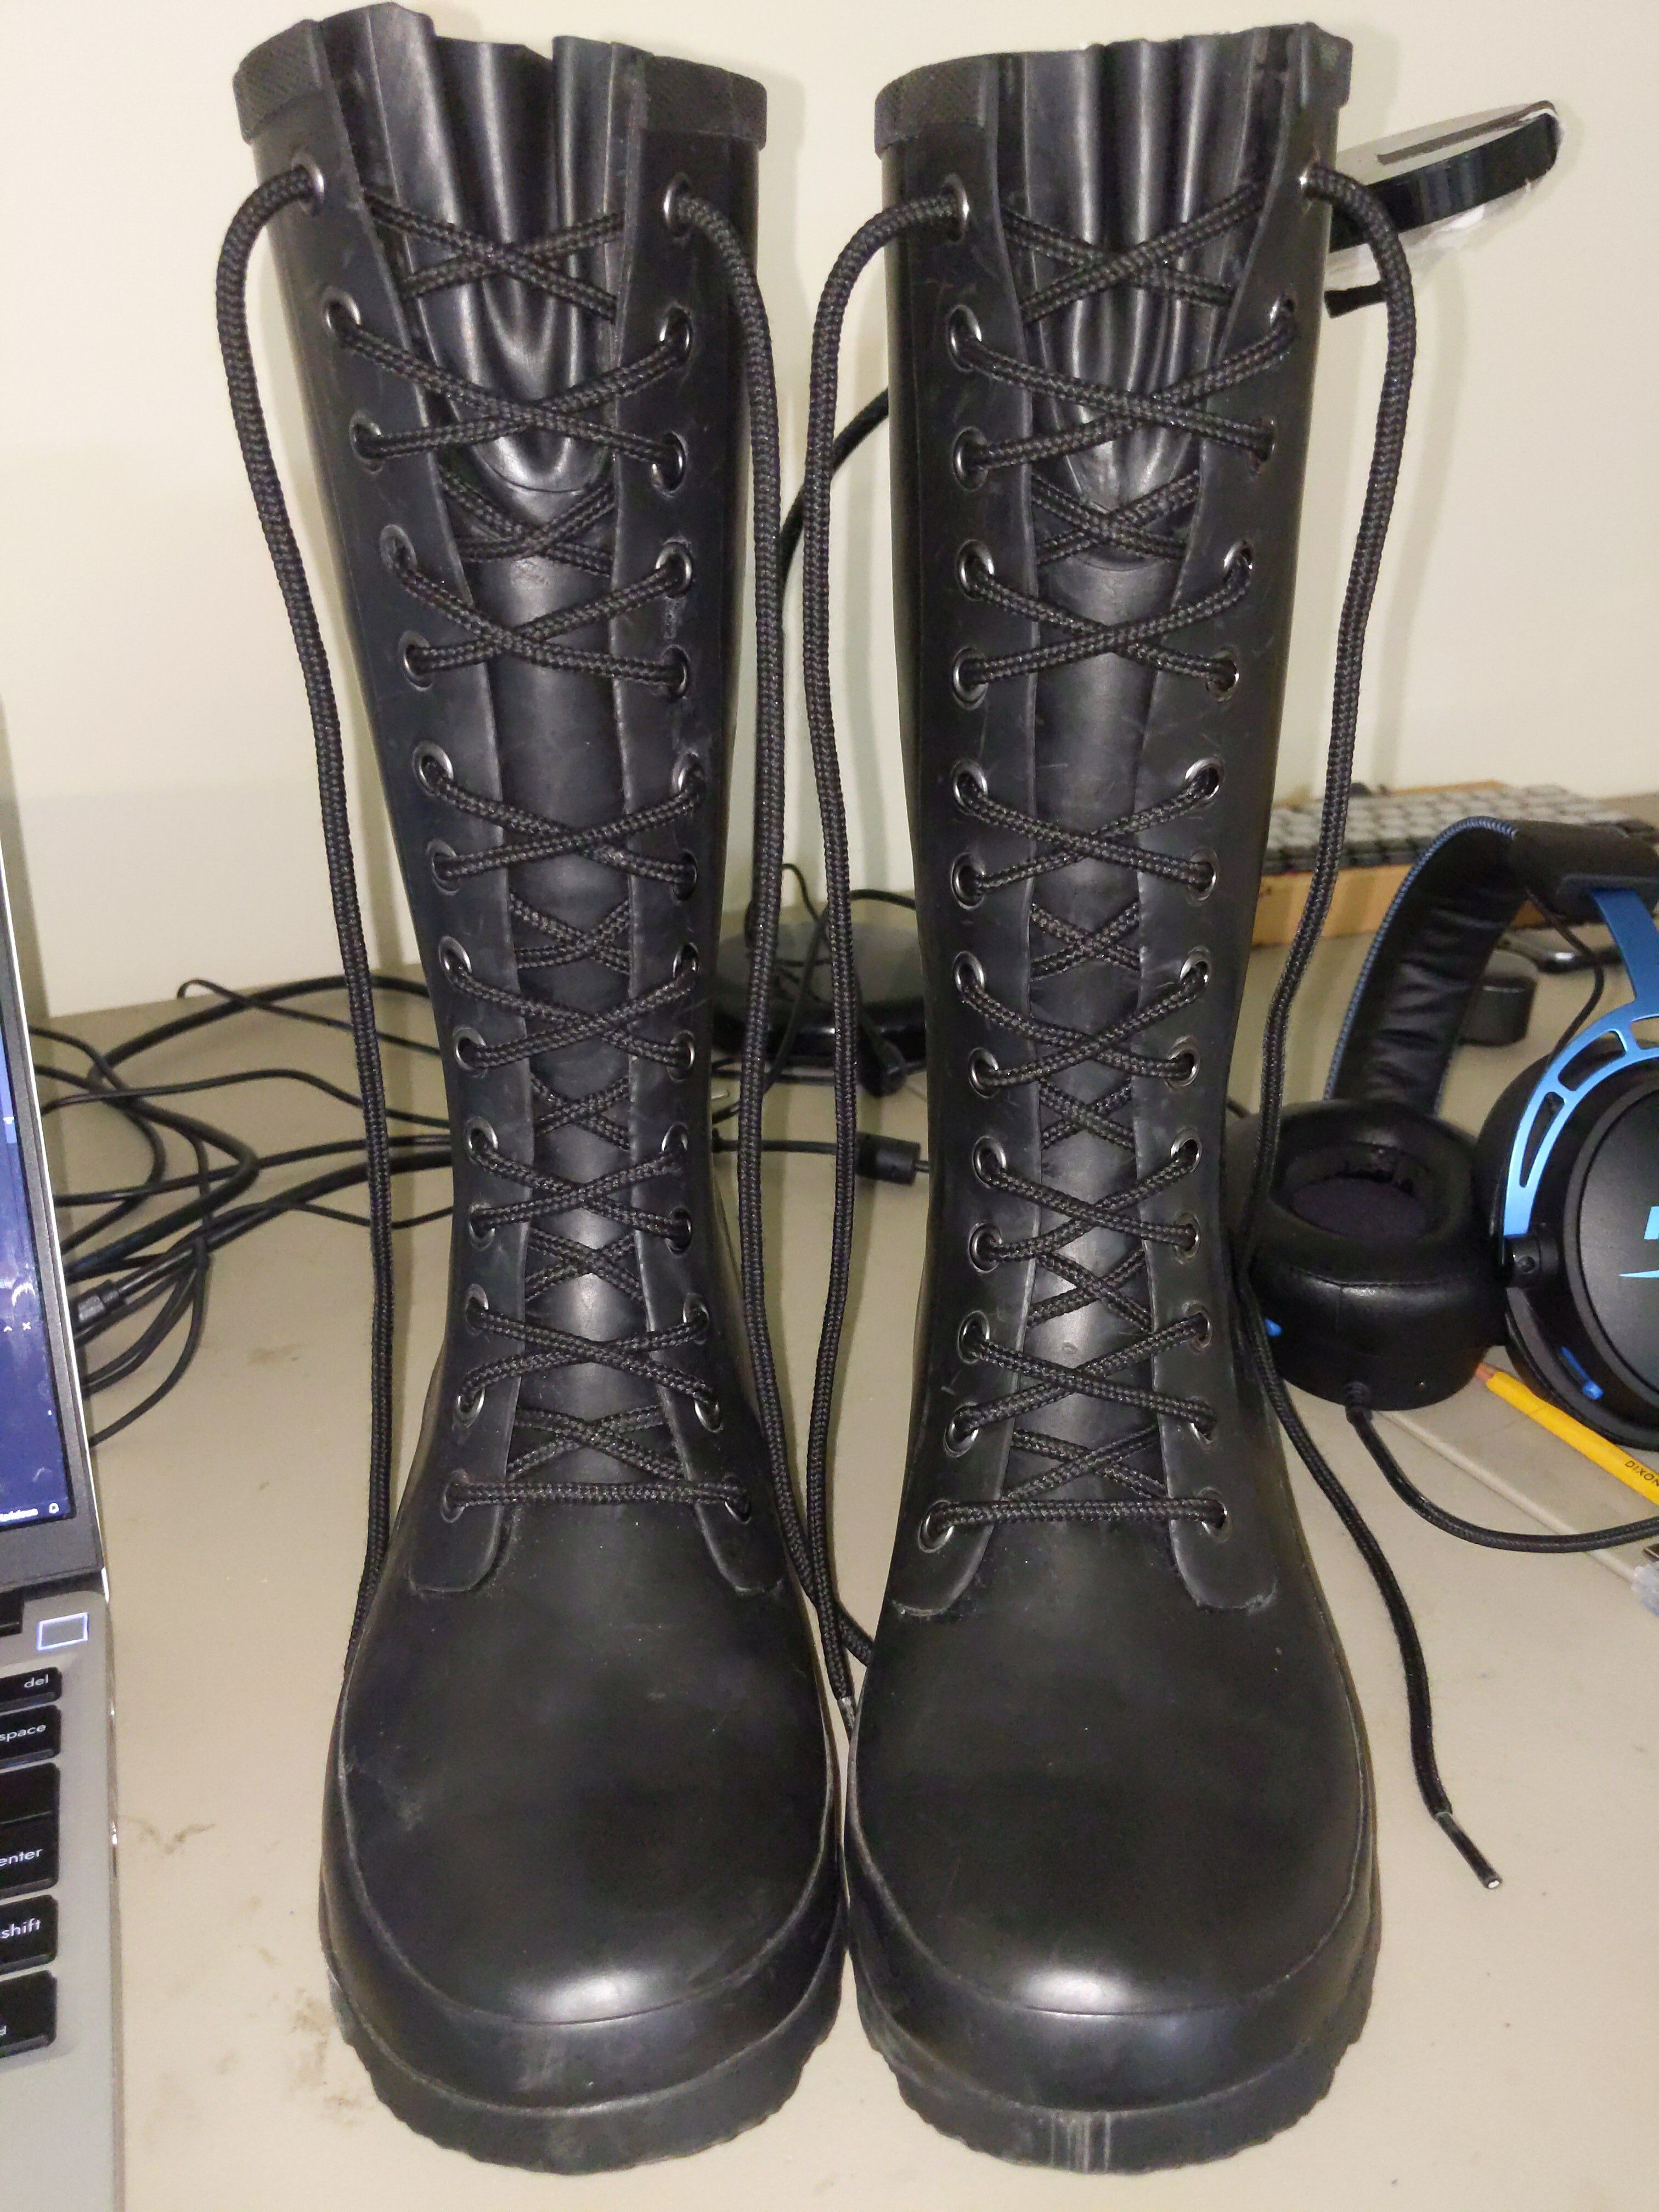
I have encoded a different message into the laces in this image. See if you can follow the same process to decode it with no green lines helping you! (I turned on the flash to take this picture, which I should have done for all the images in hindsight.) The data was generated with this site, and here's the decoder tool again for convenience.
Closing Remarks #
Mathematicians wear Klein bottle hats. I wear binary boots. We are not the same.
Also huge shoutout to aglets.